
Kimbap: Korean Seaweed Rolls
Today Mommy Oh shows us how to make kimbap (김밥), Korean seaweed rolls! When I was in high school, Mommy Oh used to pack kimbap for my school lunch every Friday. My friends asked to try and ended up falling in love with her rolls. It became a tradition: my mom packed extra kimbap for my friends and they would search for me on Fridays 😂❤️
There are many variations of kimbap. Some Koreans like to add beef, kimchi and tuna. Others like to use cheese. In this recipe, we share Mommy Oh’s style of kimbap.
While the ingredient list may appear extensive to some, you are welcome to simplify. Depending on your preference, you can change up the ratio of ingredients for the filling. Kimbap is super customizable :)
Keep in mind, steps 2—6 are in no particular order. Just be sure all ingredients are cool enough before you start making the rolls.
Scroll down for the recipe or watch the cooking video below:
INGREDIENTS
4 cups of cooked short grain white rice (other rice can be used, but must be sticky enough so that the rolls hold together)
1 big carrot
2 sheets of fish cake
1 tablespoon sugar
1 tablespoon soy sauce
1 tablespoon water (room temperature)
2 eggs
about 1/4 block of Spam
medium/large potful of raw leaves (typically spinach, but we sometimes use baby kale leaves instead)
4 sheets of unseasoned seaweed (these are thicker than the seasoned seaweed)
roasted sesame seeds to taste
sesame oil for brushing rolls
salt & pepper to taste
Servings: This will make 4 rolls. Depending on your preference, you may add more or less of any ingredient. You can make more rolls with 4 cups of cooked rice depending on how much rice you use per seaweed sheet.
Wondering how to make a vegan version? How about using firm tofu, tempeh or seitan to substitute egg and fish cake :)

Step 1: The Rice
Cook your rice so that it is sticky enough, but also not too moist. Let it cool down. In the meantime we will prep the other ingredients.

Step 2: The Carrot
Cut your carrot. Mommy Oh juliennes it into 1/8” thick slices, but you are welcome to make thicker slices. Thinner slices allow for faster cooking.

Place carrot strips into pan with about 1 tablespoon of your preferred cooking oil. Add salt and pepper to taste.
Cook and stir until carrot slices are softened. Mommy Oh cooked on medium high heat.
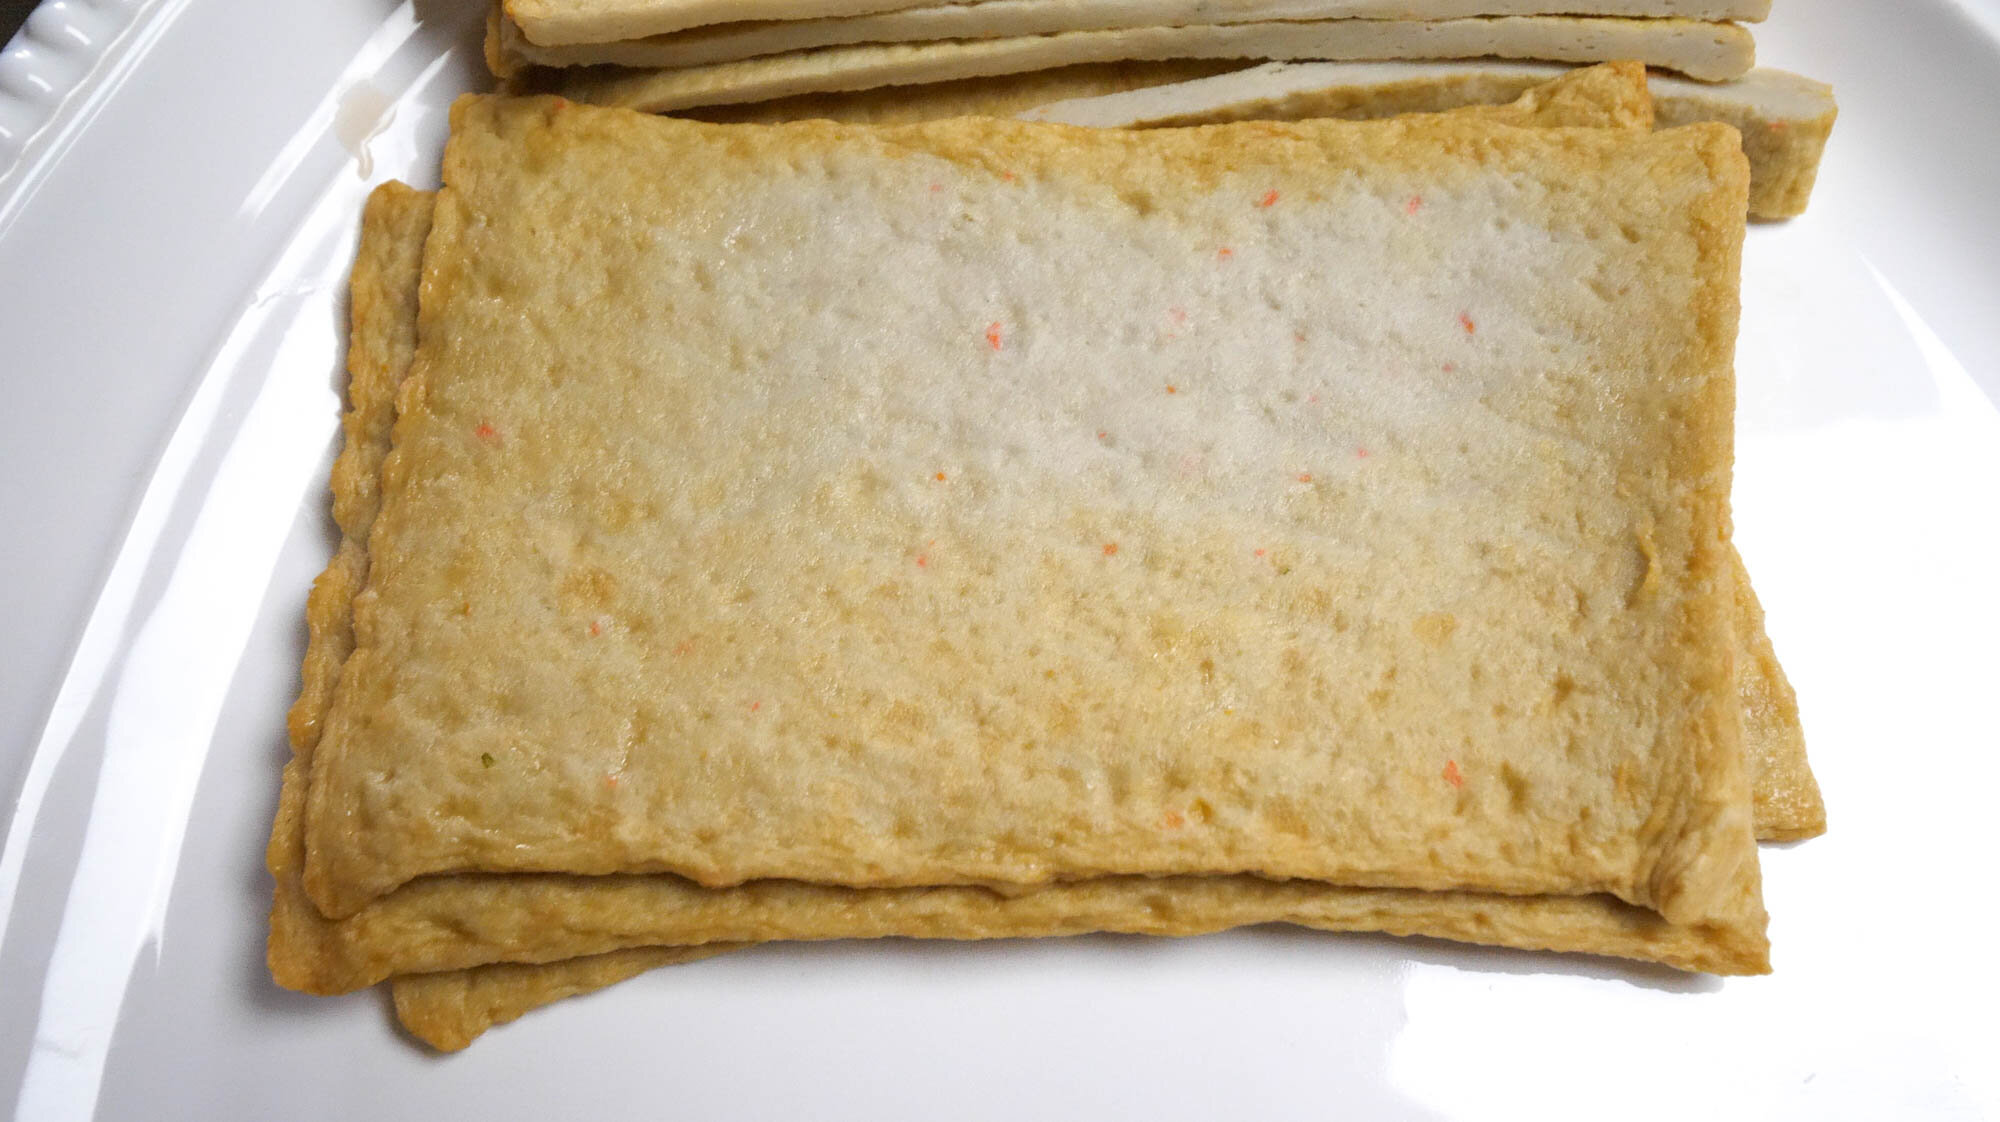
Step 3: The Fish Cakes
Slice sheets of fish cake about 1/2” thick or less.

Keep in mind, if the slices are too thick, it may be challenging to roll later.

Now we make a sauce. Mix sugar, soy sauce and water (1 tablespoon each).
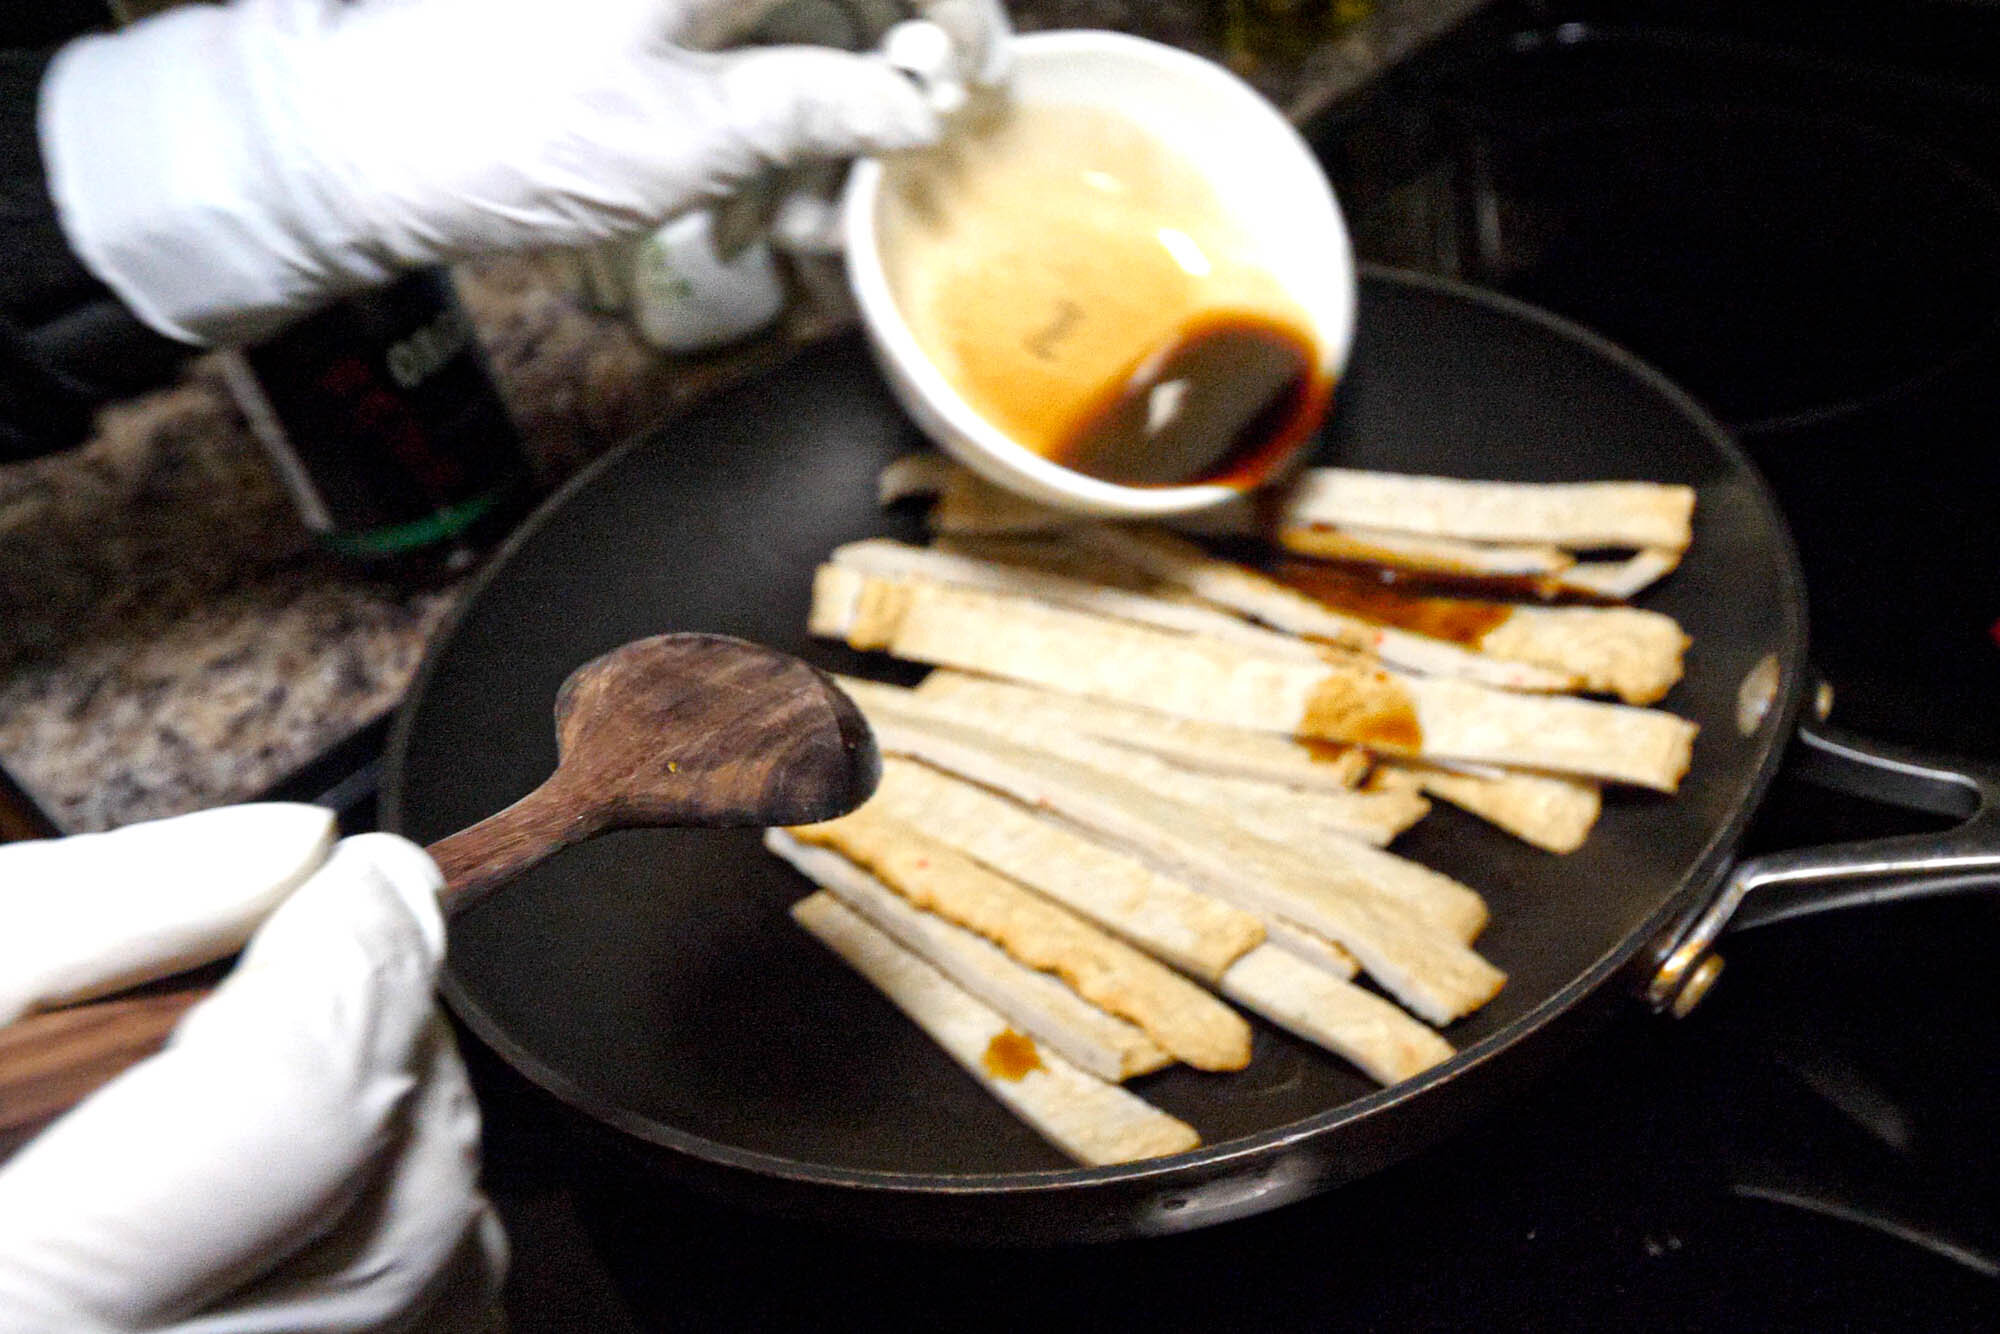
Pour sauce over fish cake slices on a pan. Mix until sauce is evenly spread out.

Cook and stir on medium high heat until sauce evaporates.
Then set aside for cooling.
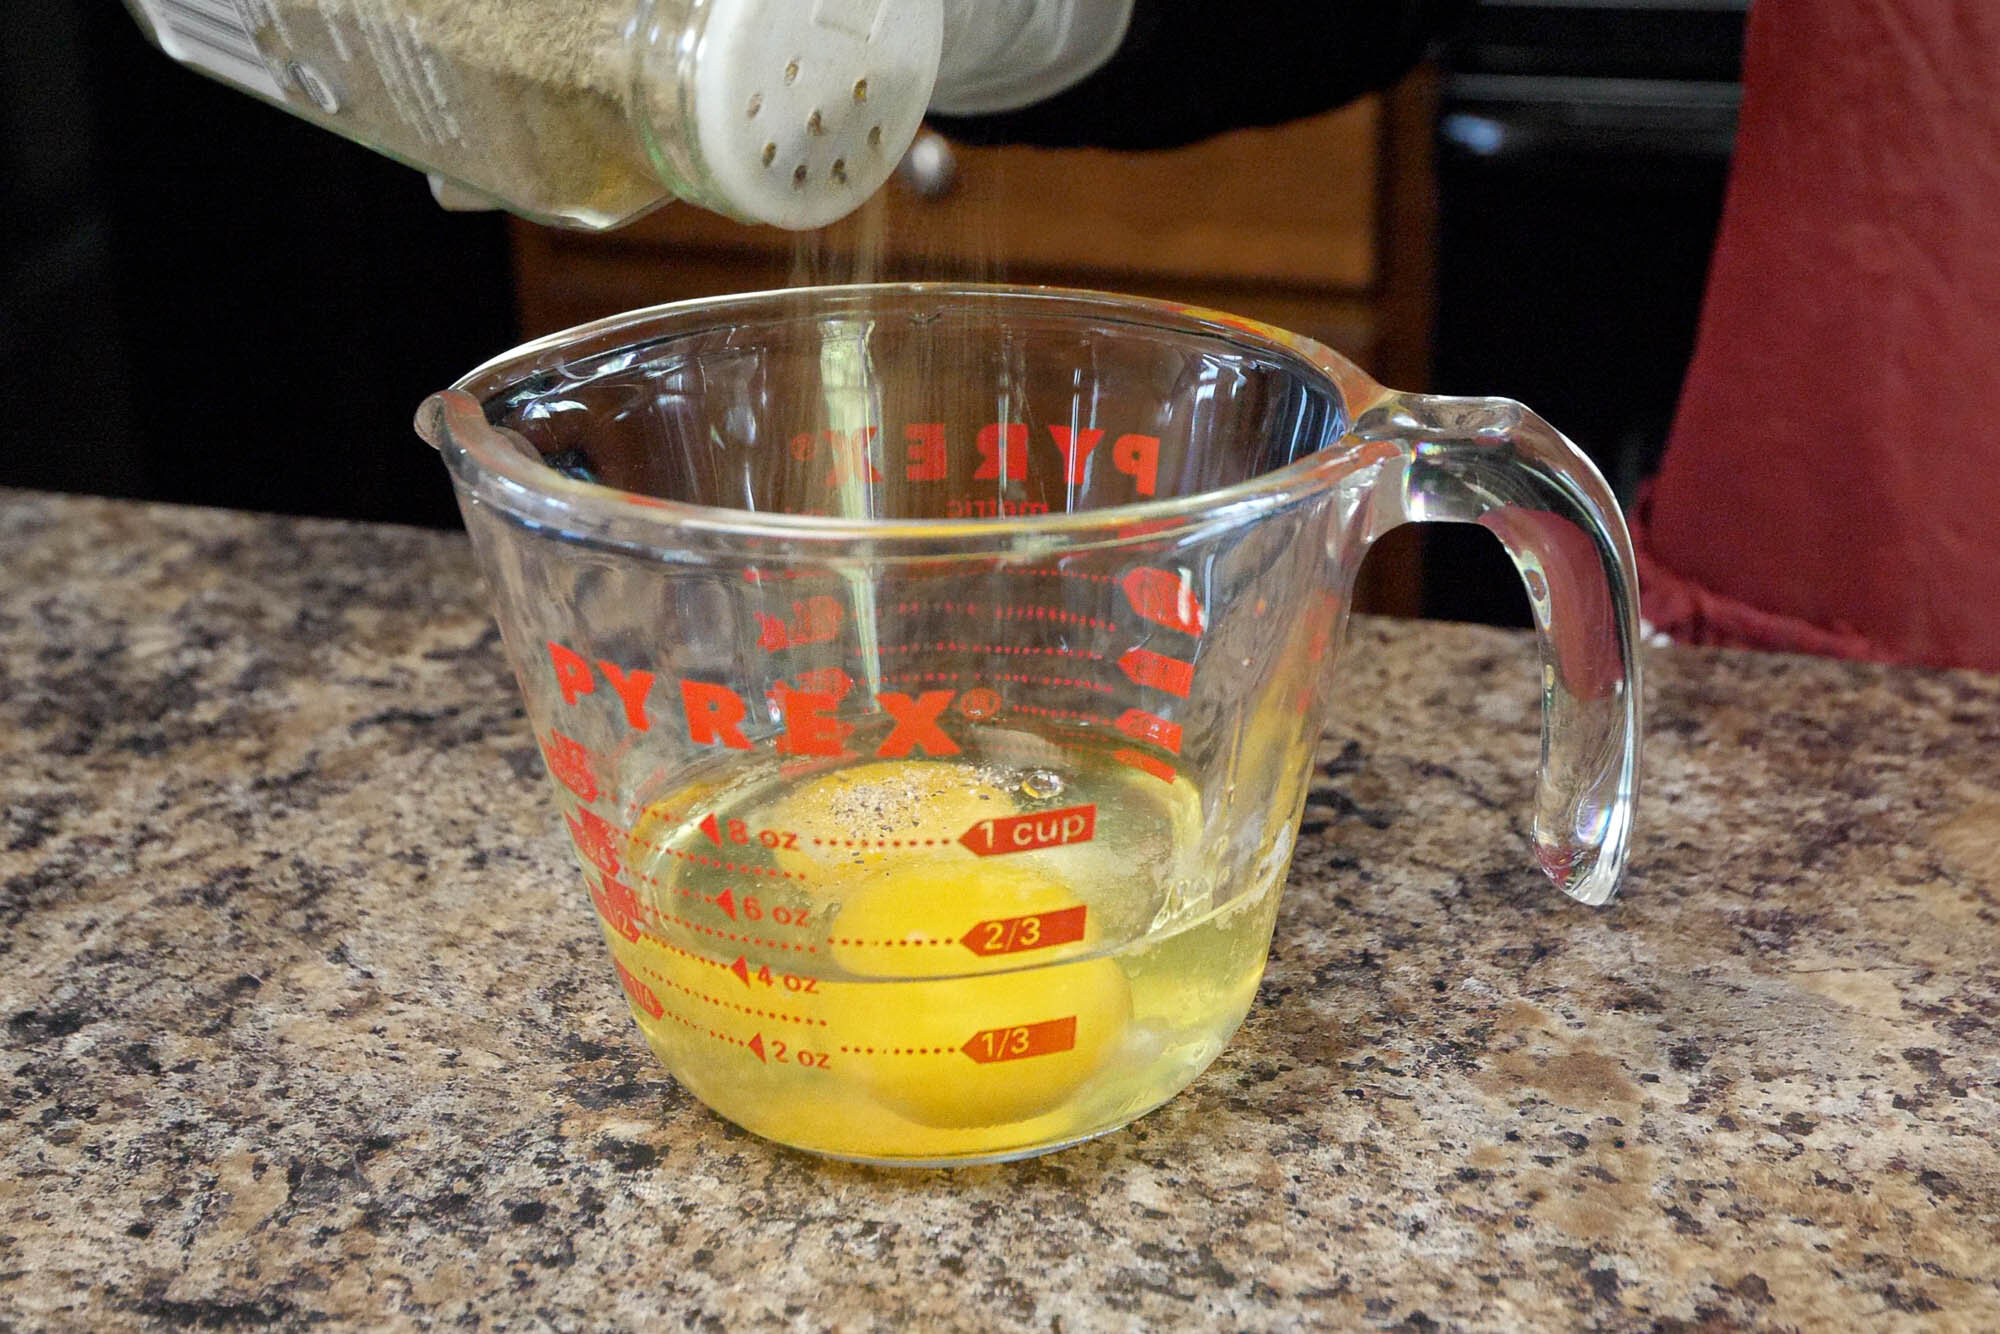
Step 4: The Eggs
Break eggs into a small bowl (or measuring cup as seen in photo). Add in salt and pepper to taste. Whisk.

Put pan on low heat and add in about 1 tablespoon of your preferred cooking oil (or just enough to cover the surface area).
Pour the whisked egg mixture onto the pan.

Cook until the bottom of egg becomes solid enough to flip. Then cook the other side.

Cut egg into long strips (about 1/2” thick). Put strips to the side and prepare the next ingredient.
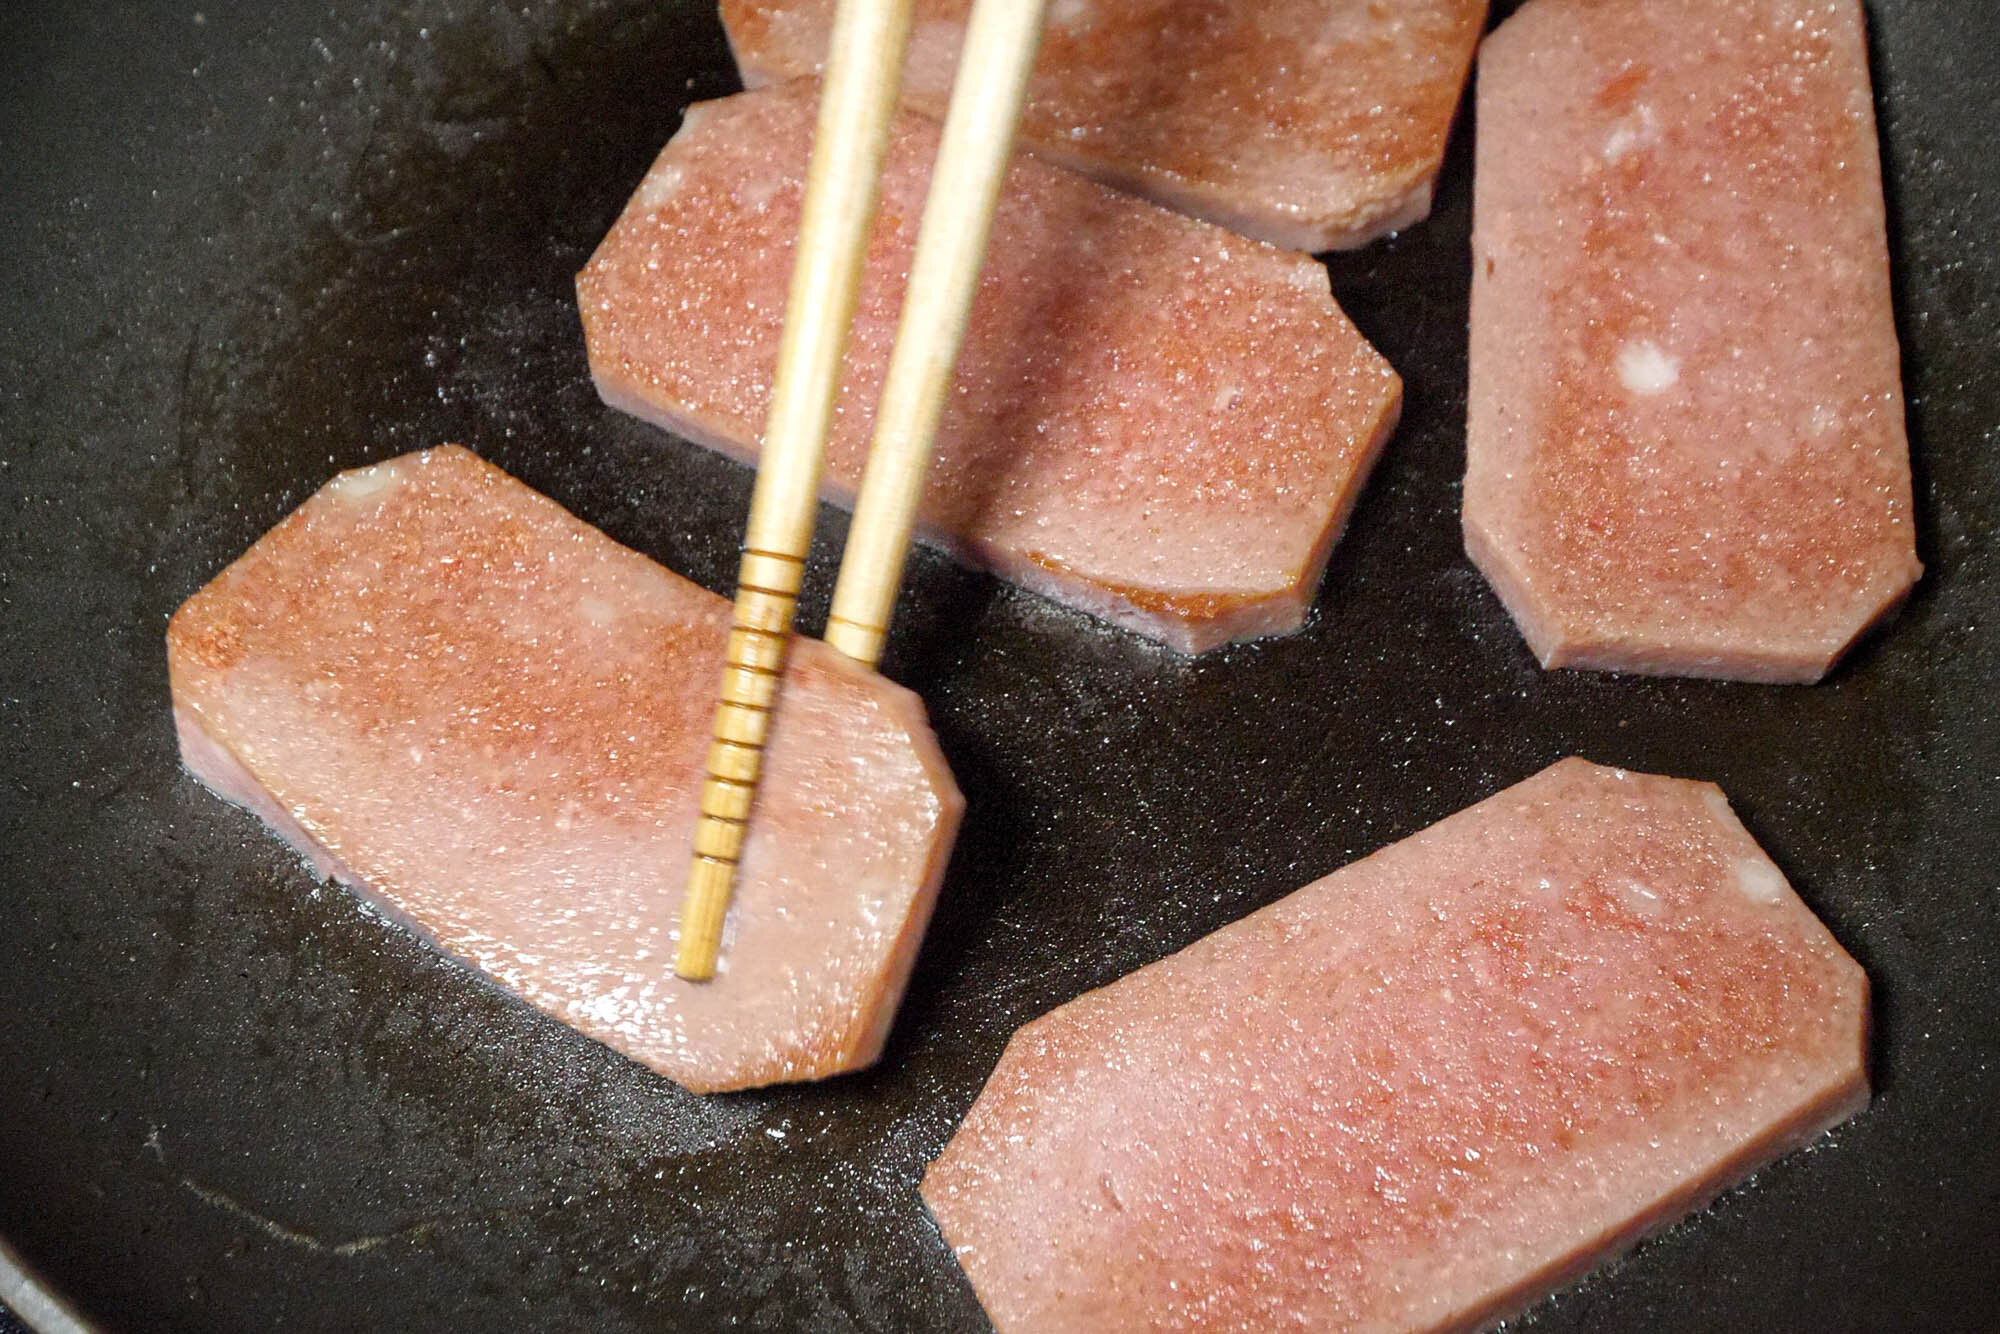
Step 5: Spam
Cut a couple layers off your block of Spam (a little less than 1 centimeter thick should be good). Cook both sides on pan.
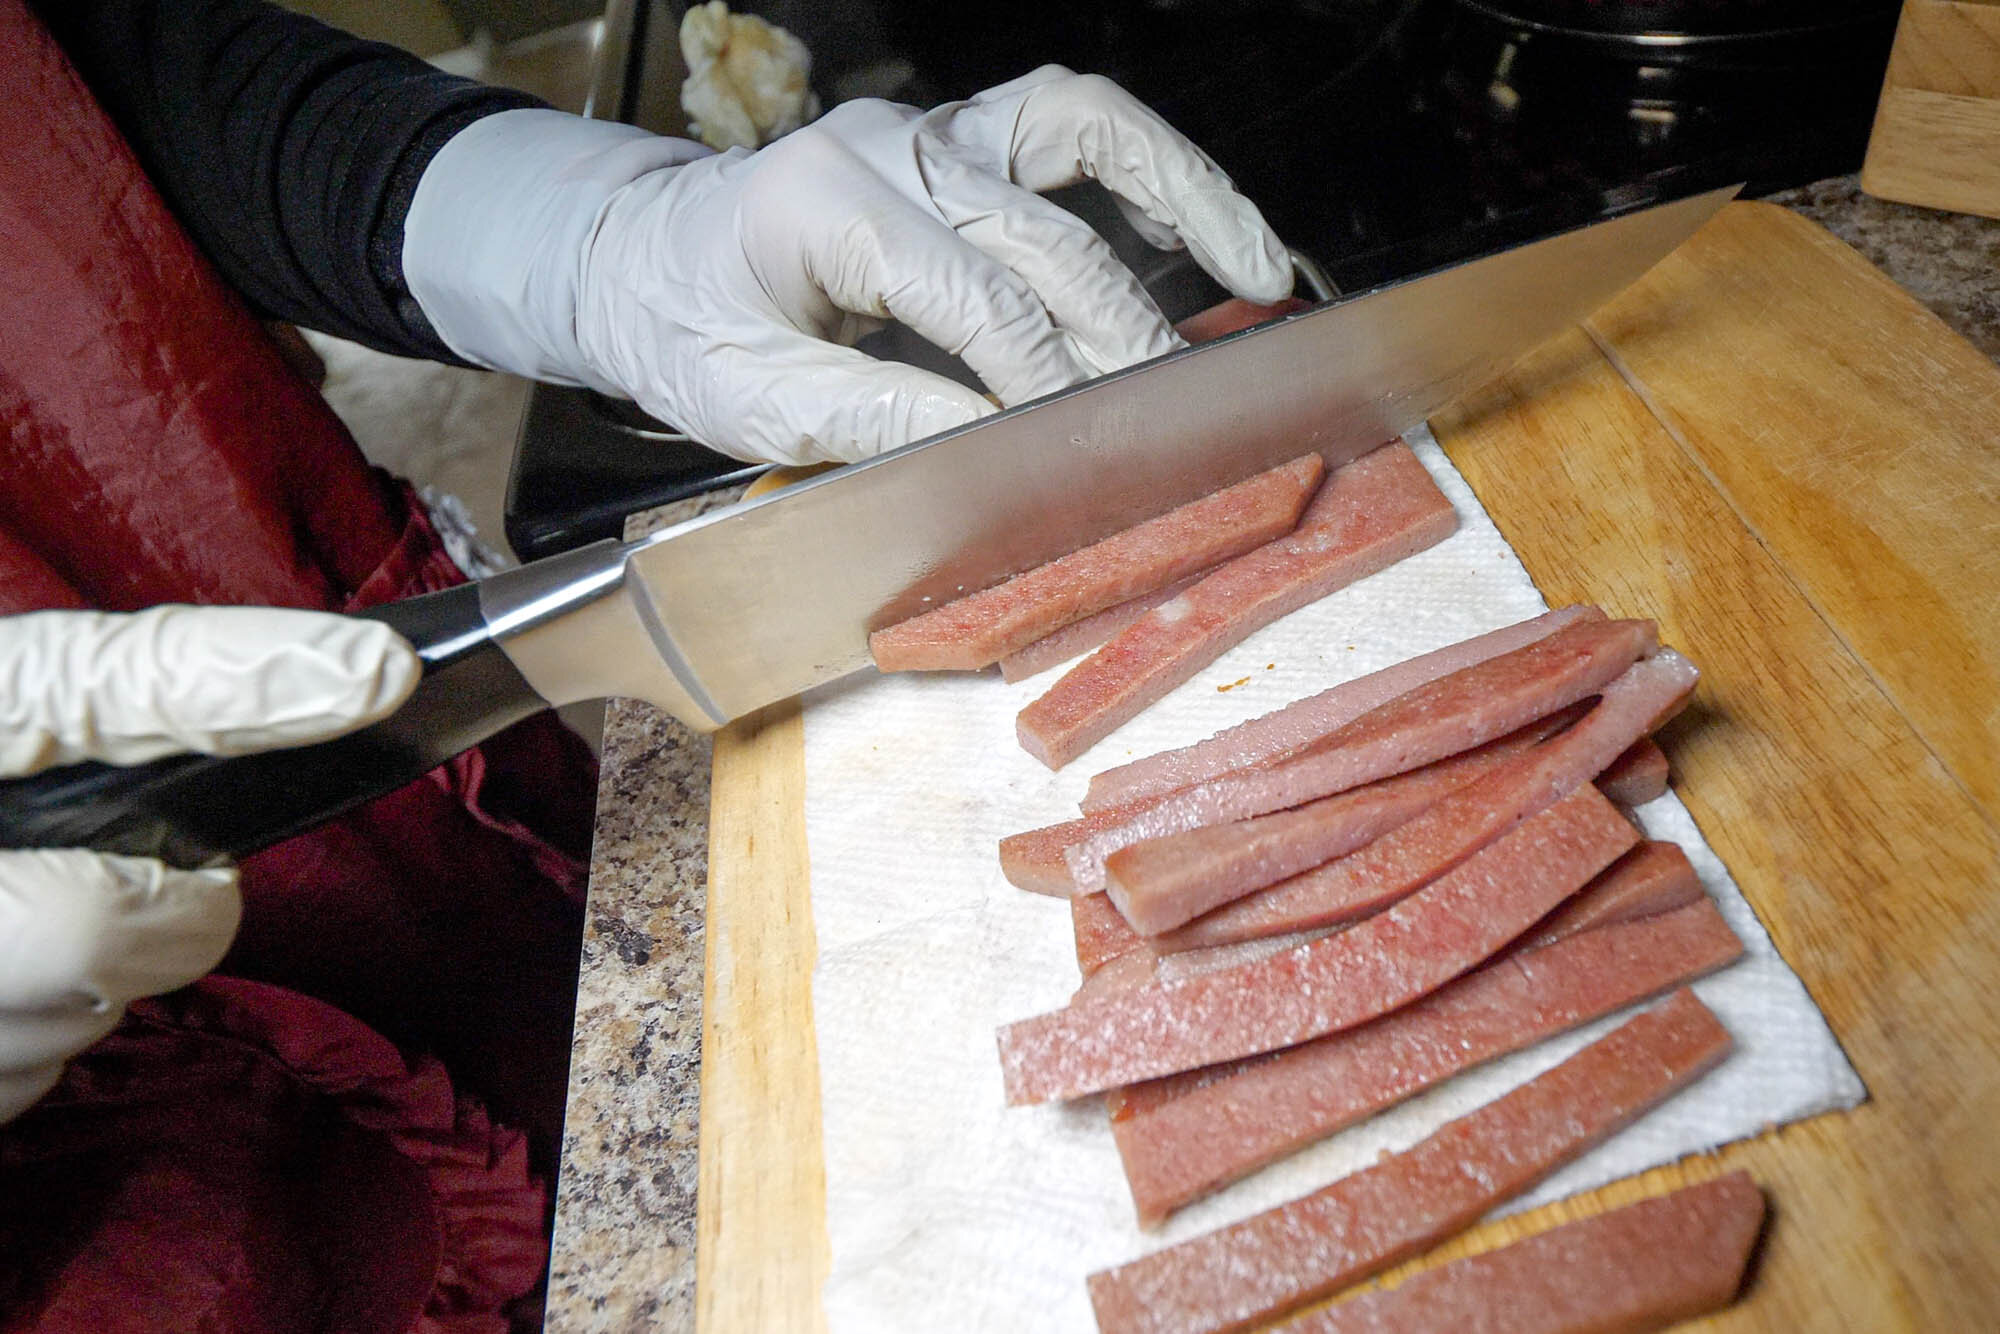
Slice into strips (each less than 1/2” thick). Put strips to the side and prepare the next ingredient.

Step 6: Leafy Greens
Wash your greens and place in medium/large pot. Typically Mommy Oh uses spinach, but today she will substitute with baby kale leaves.
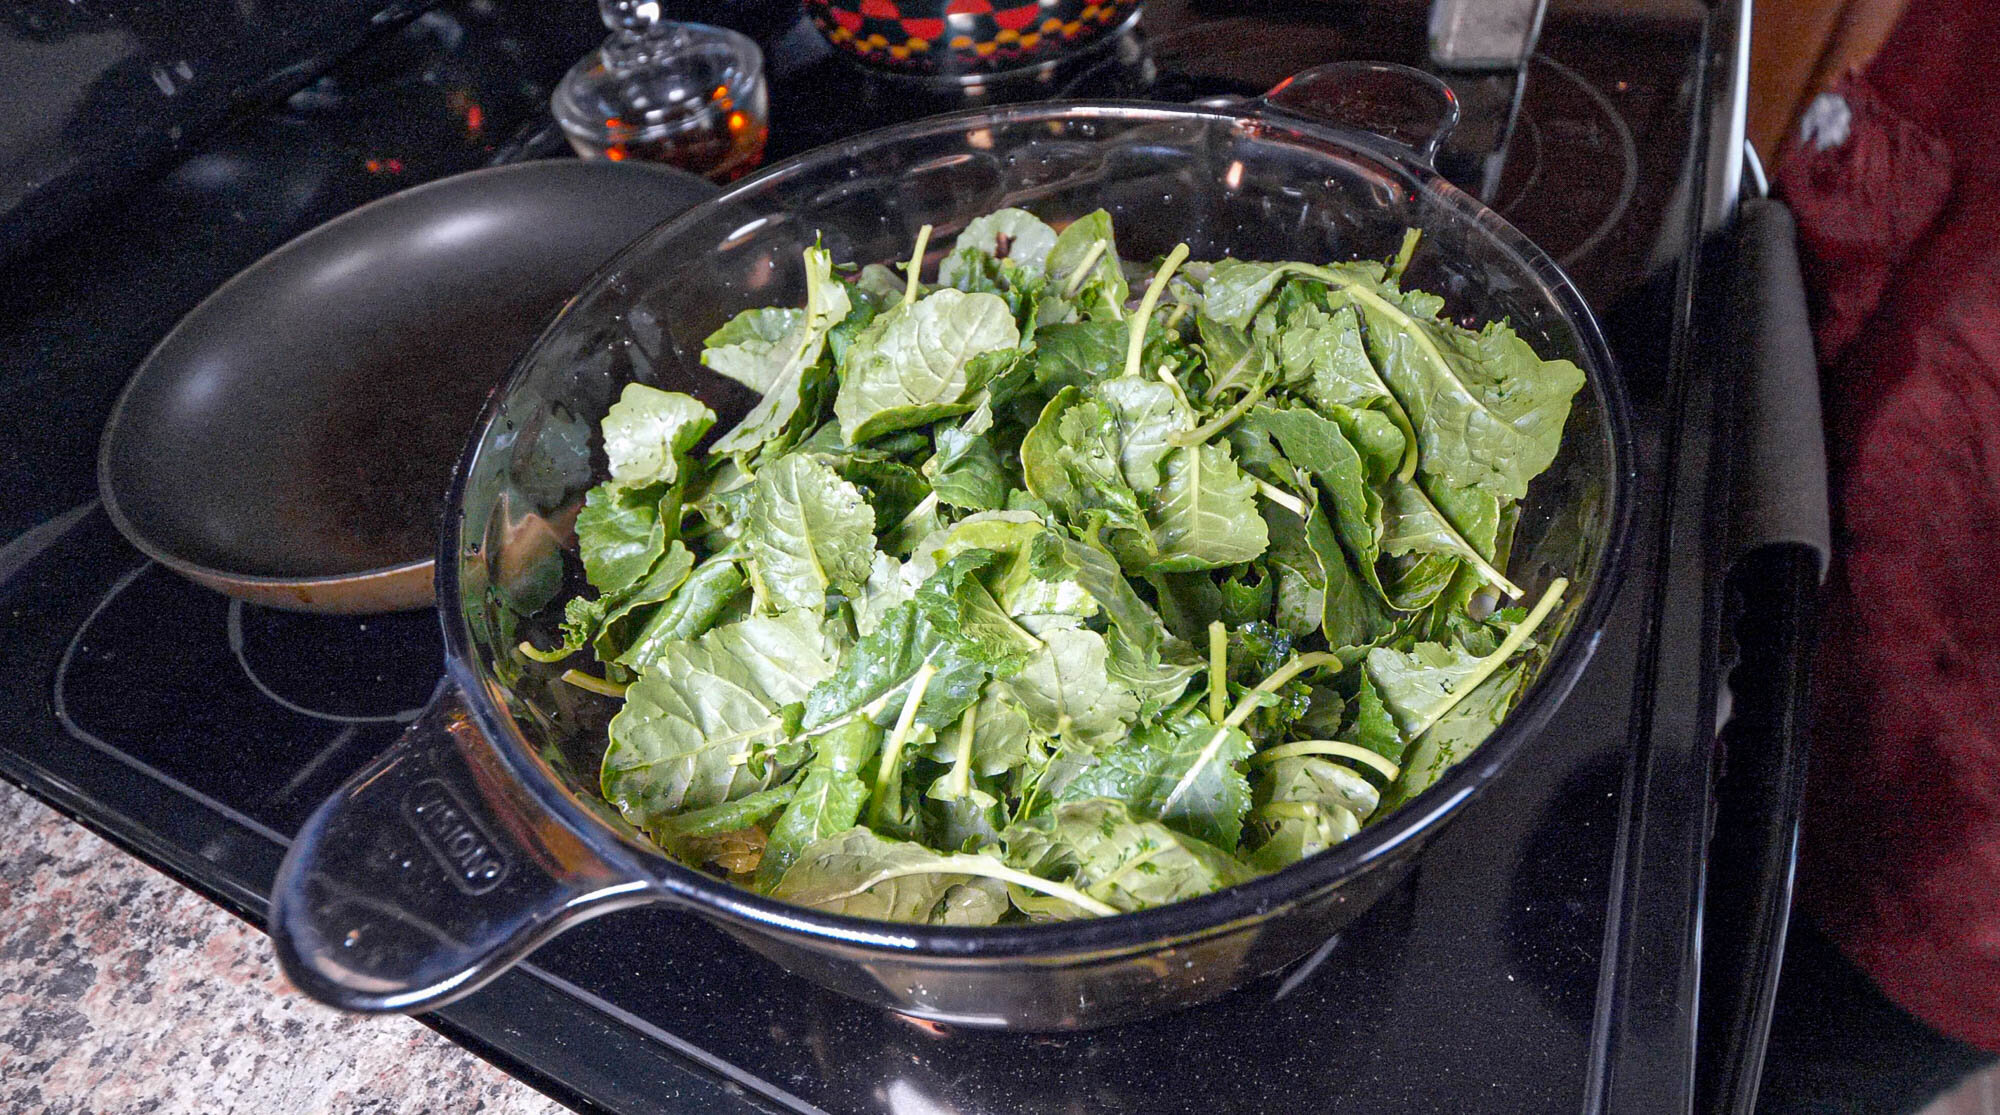
Cover pot with lid and let the wet leaves sit on medium high heat. They will steam by using leftover water from the washing.
Note: When making kimbap, it is typical to blanch spinach leaves, then give it an ice bath. For this recipe, we are sharing Mommy Oh’s method.

The leaves will drastically go from fluffy to flimsy.

Remove leaves from pot. Let them cool down for a few minutes.

Take a handful of leaves at a time and wring out the excess water.
Set to the side as we prep the final ingredient.

Step 7: Danmuji
Last but not least, we cut the danmuji (Korean pickled radish). This requires no cooling process like the other ingredients as it comes straight out of the fridge.

Cut 4 long strips. Each strip per roll. So if you make 6 rolls, then slice 6 long strips.
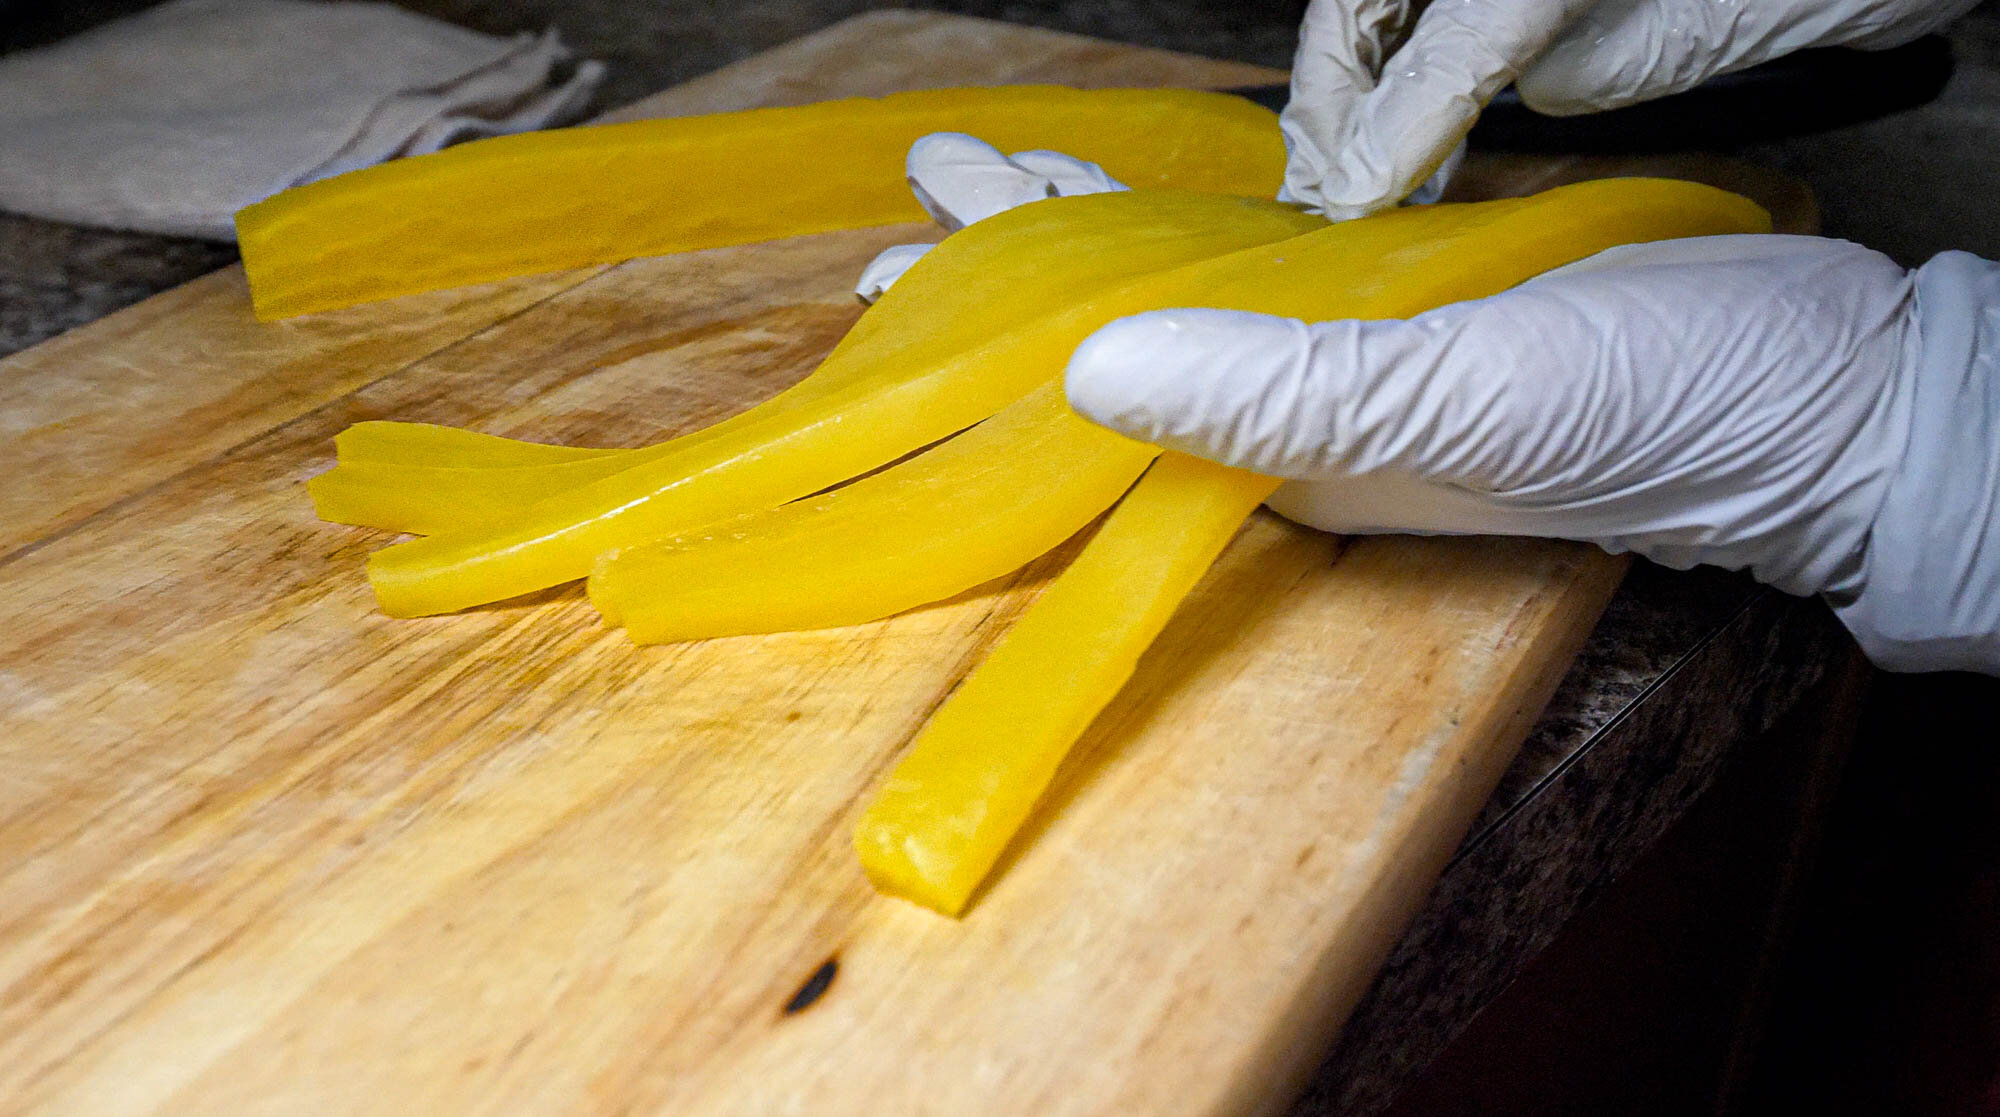
Thickness may vary like other ingredients, but cutting them between 1/4” to 1/2” should be fine.

Step 8: Let’s roll!
Ready your rolling station. Have your prepped ingredients nearby, as well as a small bowl of water and clean flat surface (eg: cutting board or tray).

Place a seaweed sheet on your working surface. Make sure the rough side is facing up.
The smoother side should face down and will become the kimbap’s exterior.
Add about 1 cup of cooked rice on the seaweed sheet. Spread rice into even layer as possible, but leave one edge blank (as seen in next photo).
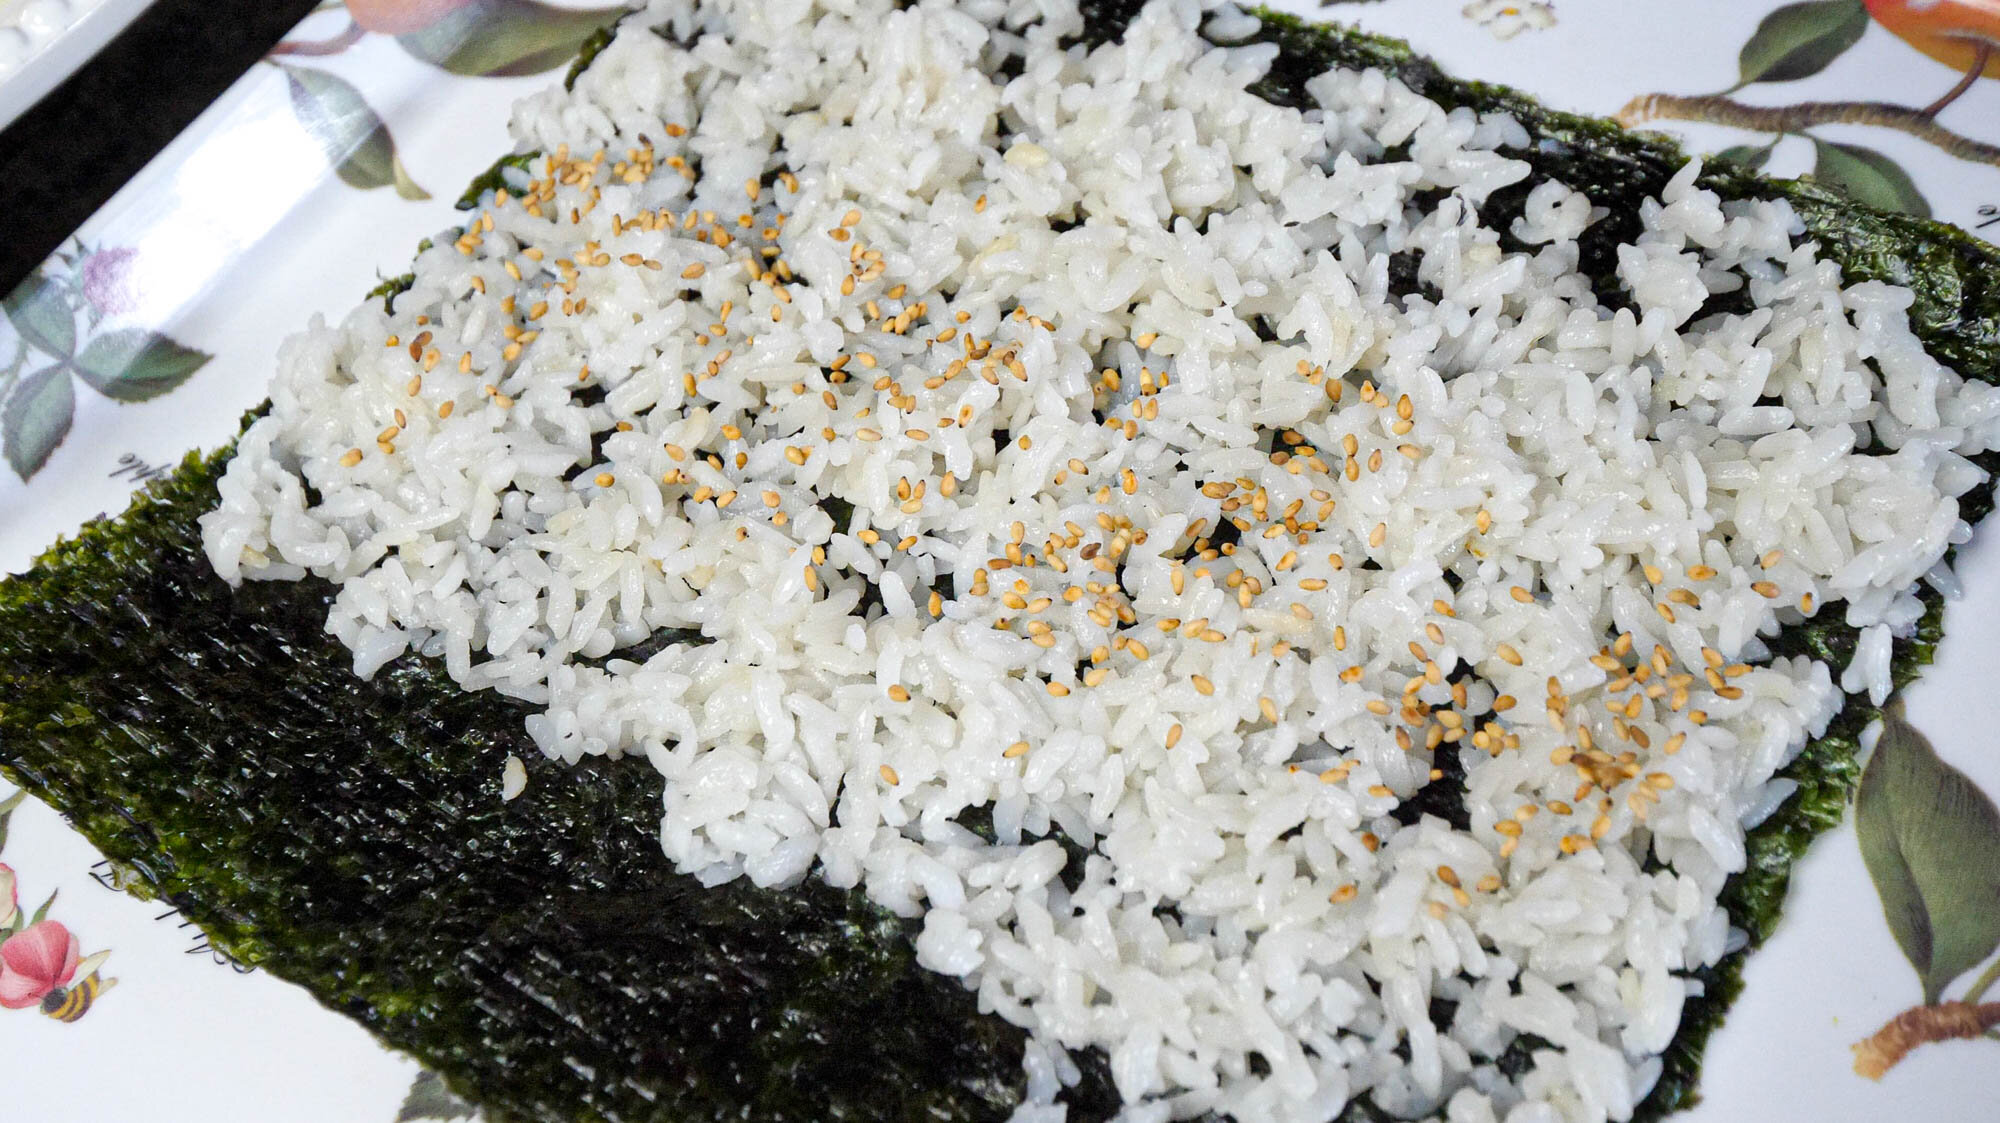
Spread a line of roasted sesame seeds in the middle of the rice.
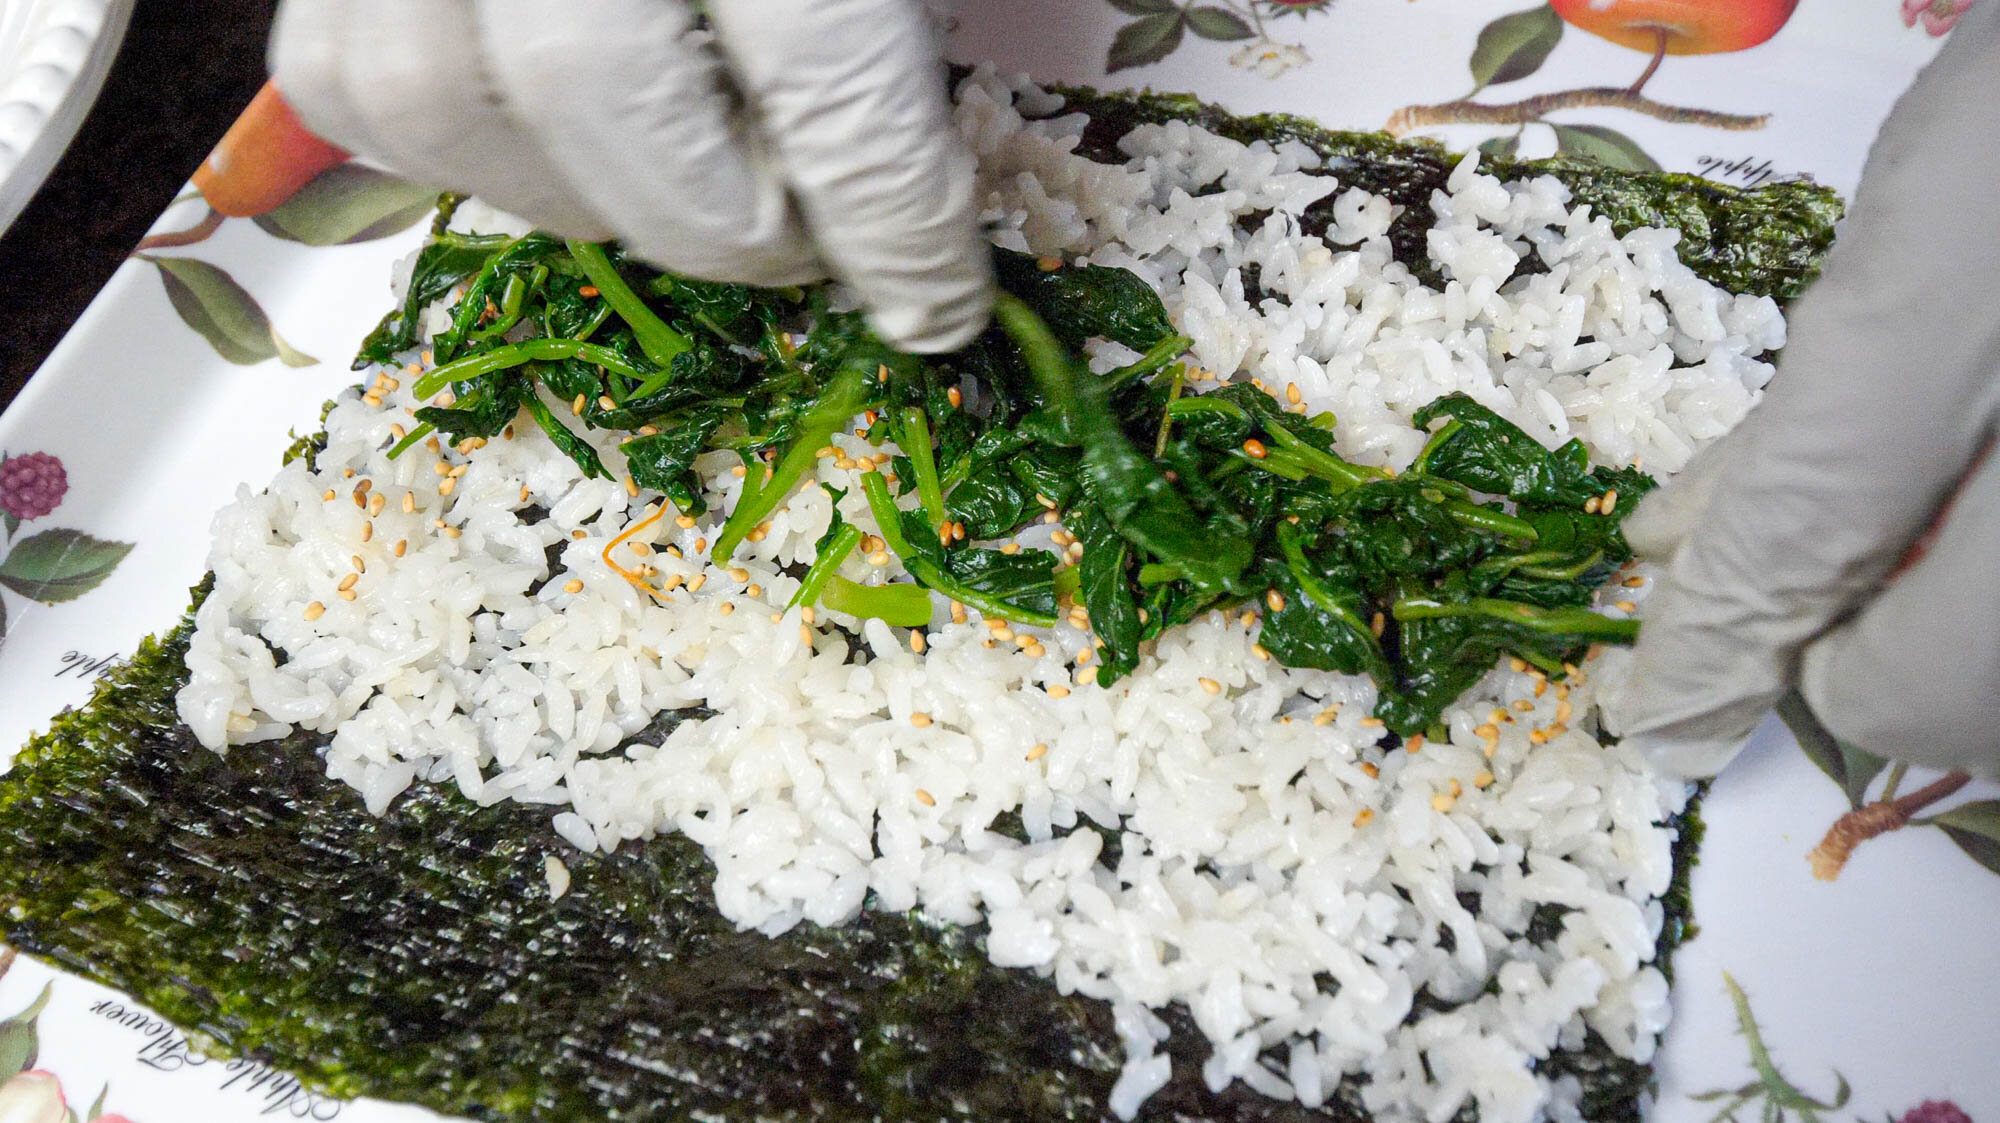
Add of a row of your leafy greens in the middle of the rice.
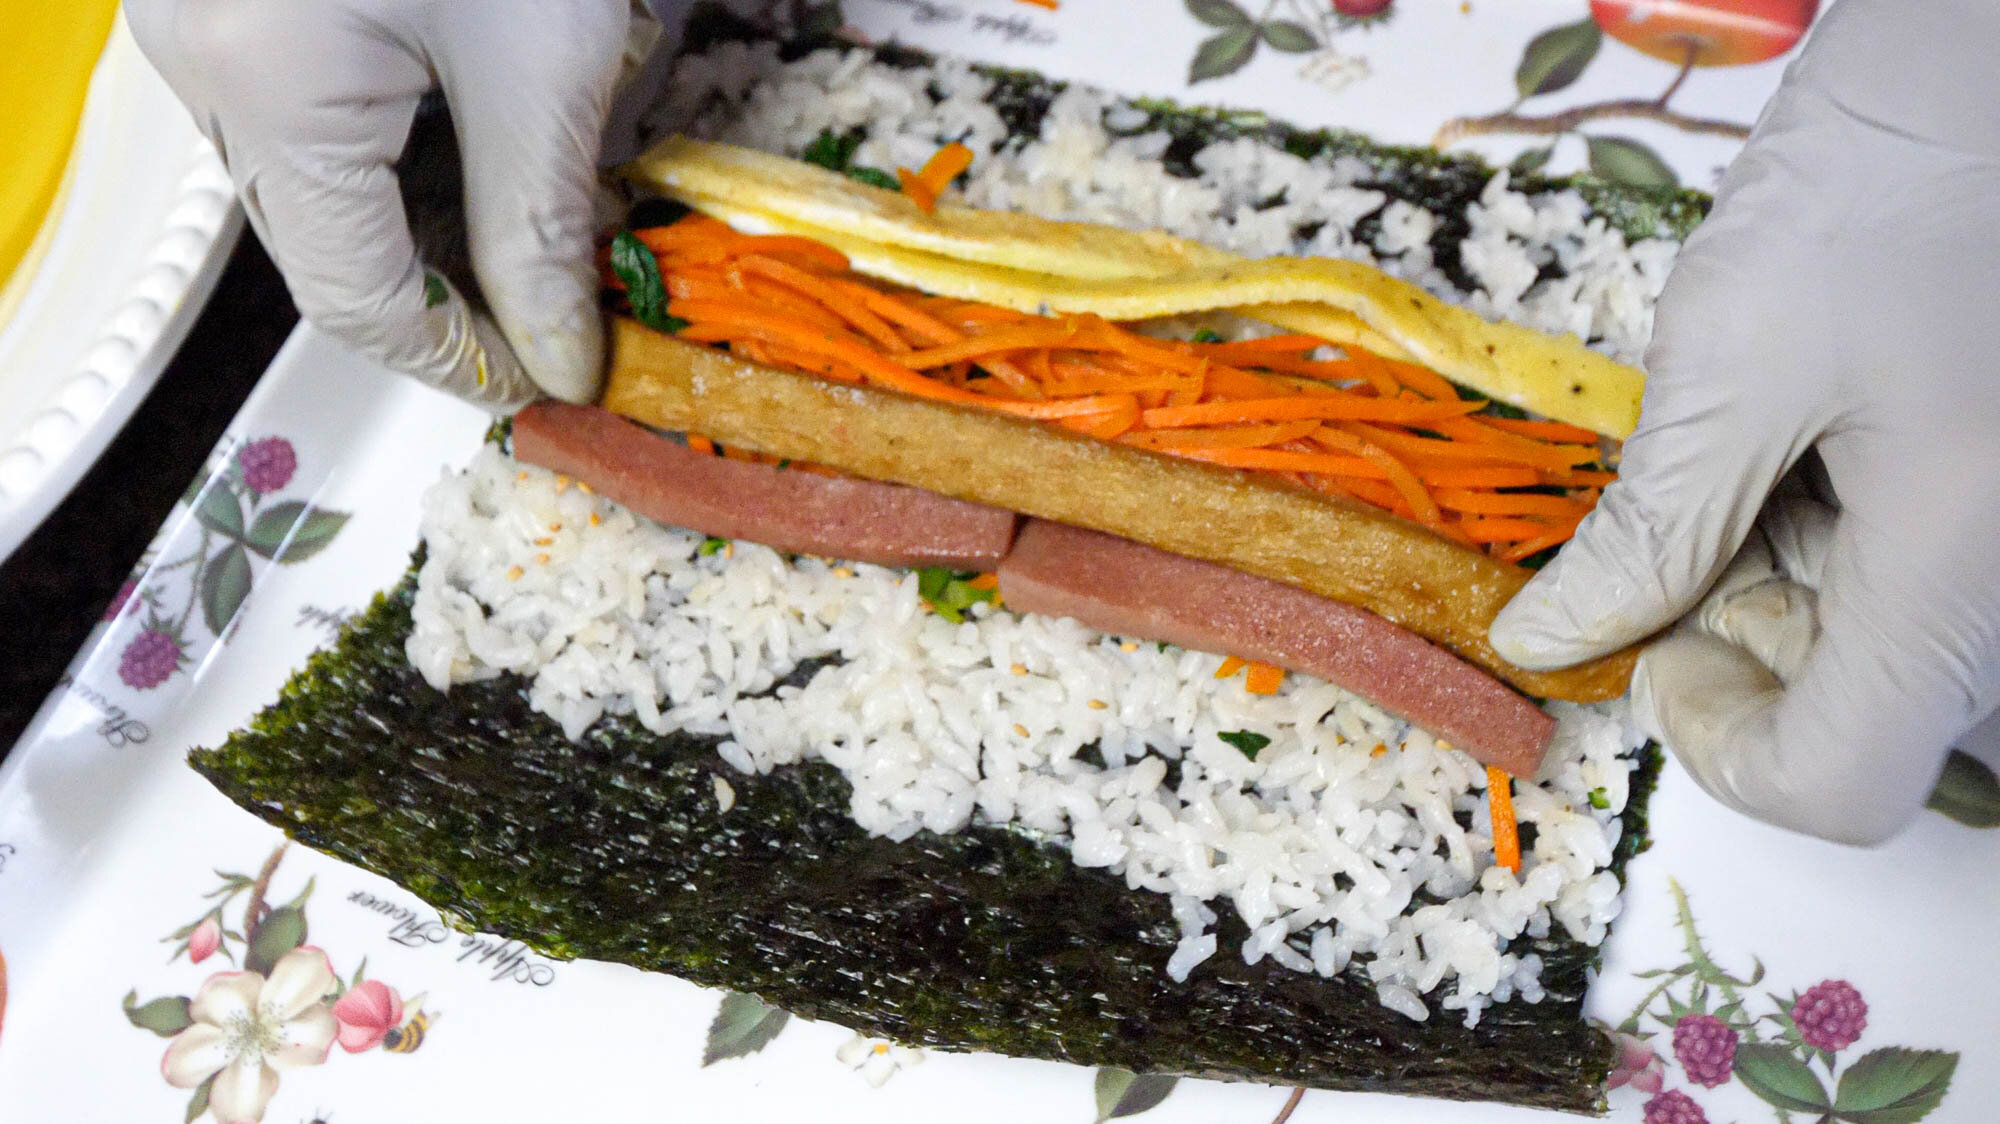
Add strips of other ingredients. The ratio will depend on your preference.
Make sure the rows are even. Some strips might be short, so you’ll need to double up (like the Spam as seen in the photo). When layers are bumpy, your kimbap roll may also become bumpy.

Make glue with rice on the empty edge of your seaweed sheet. Press grains of rice and spread a line along the edge. Be gentle so the seaweed sheet does not rip. It helps to slightly flick your finger outwards, away from the ingredients.

Starting from the end closest to you (opposite of the rice glue), roll up the seaweed sheet. Fold into the ingredients.
Apply some pressure to make roll tight, but not so much the seaweed sheet will rip open. Basically we don’t want any gaps inside the roll.
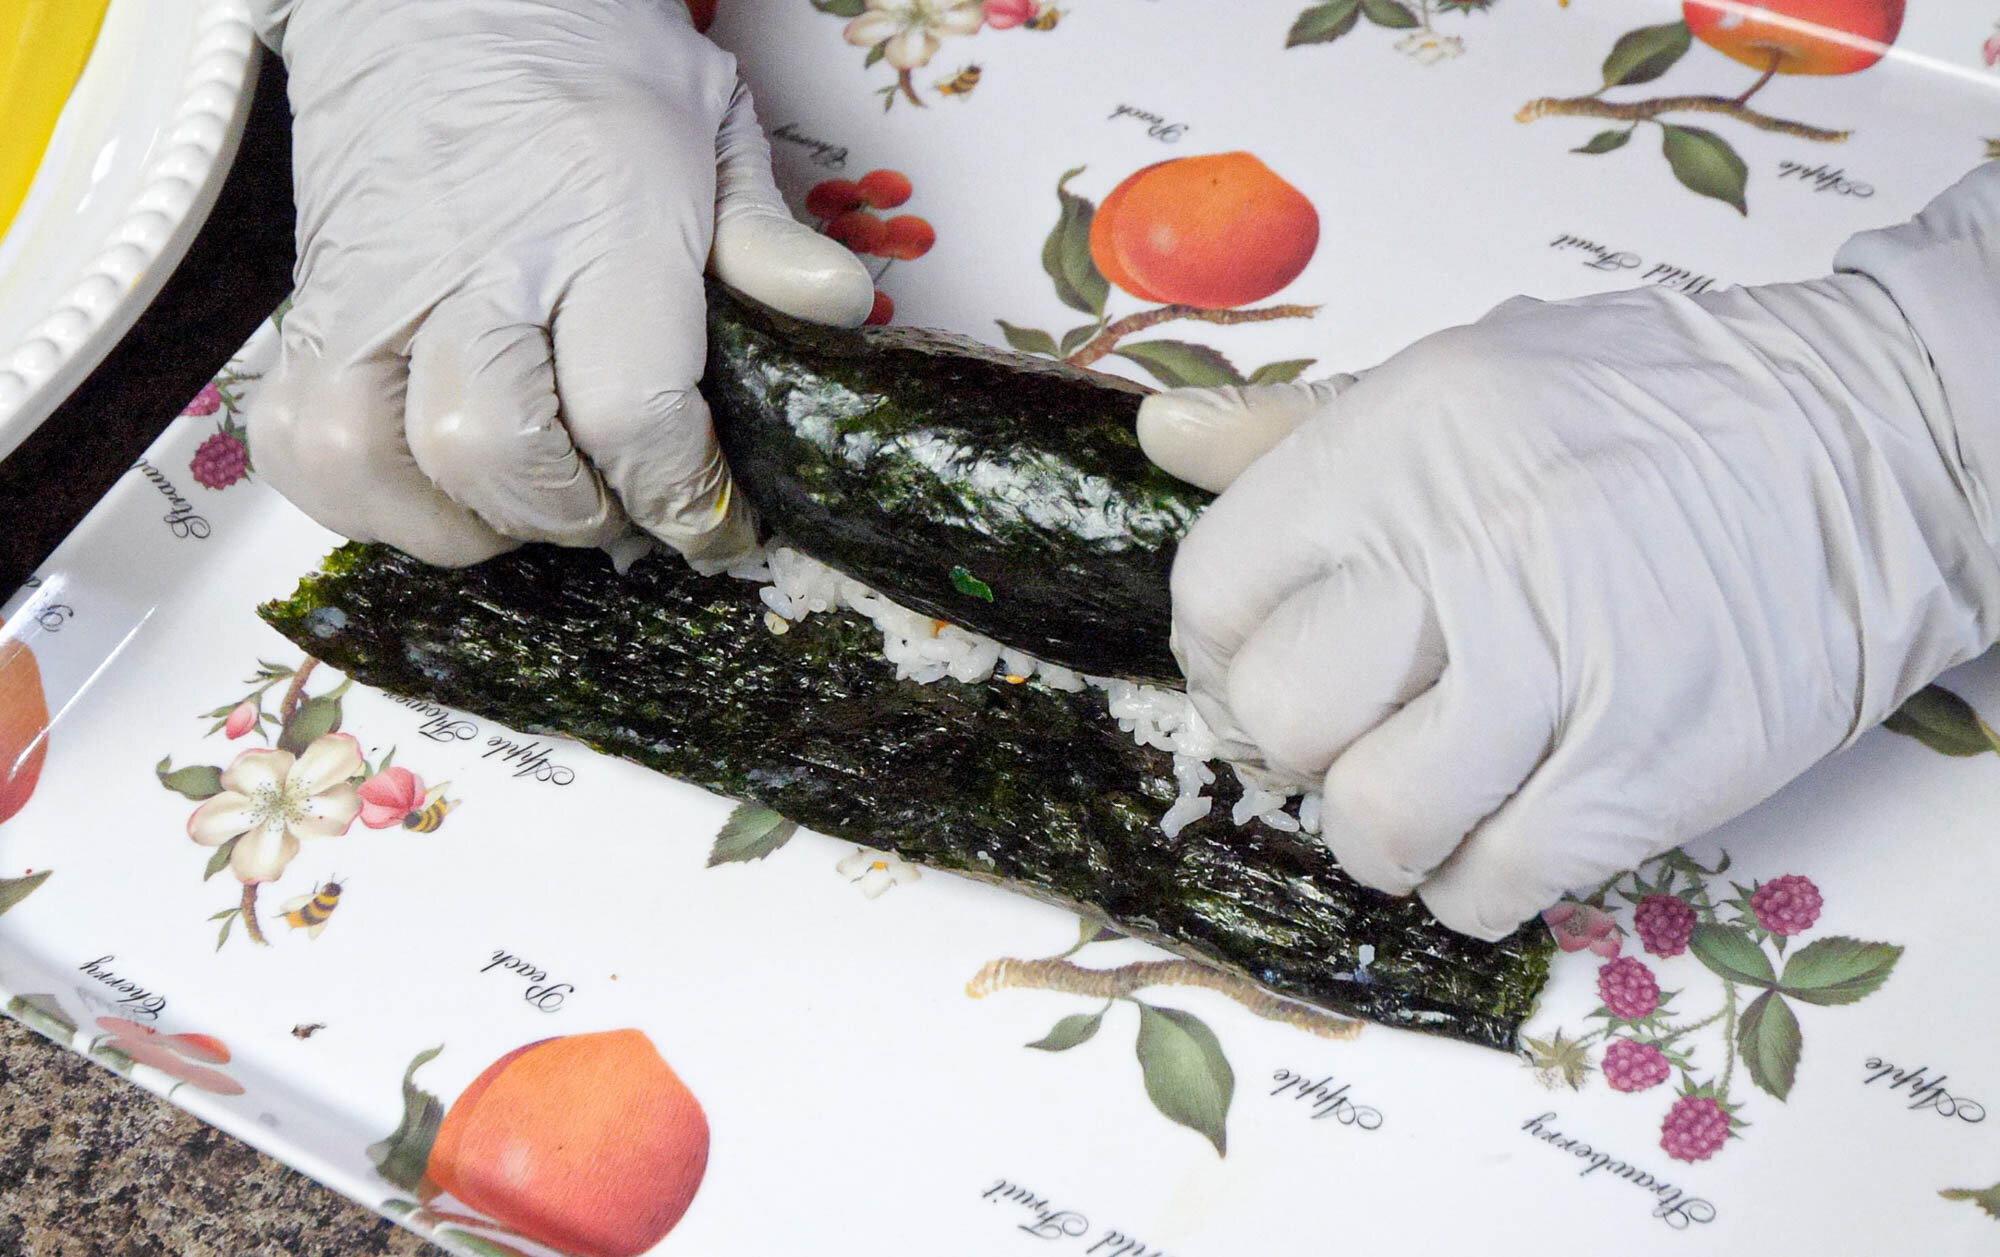
As you approach the other side of the seaweed sheet, make sure the sticky edge with rice glue is not folding onto itself. It’s important that the sticky edge folds onto the main body of the roll. This allows the roll to maintain its shape.
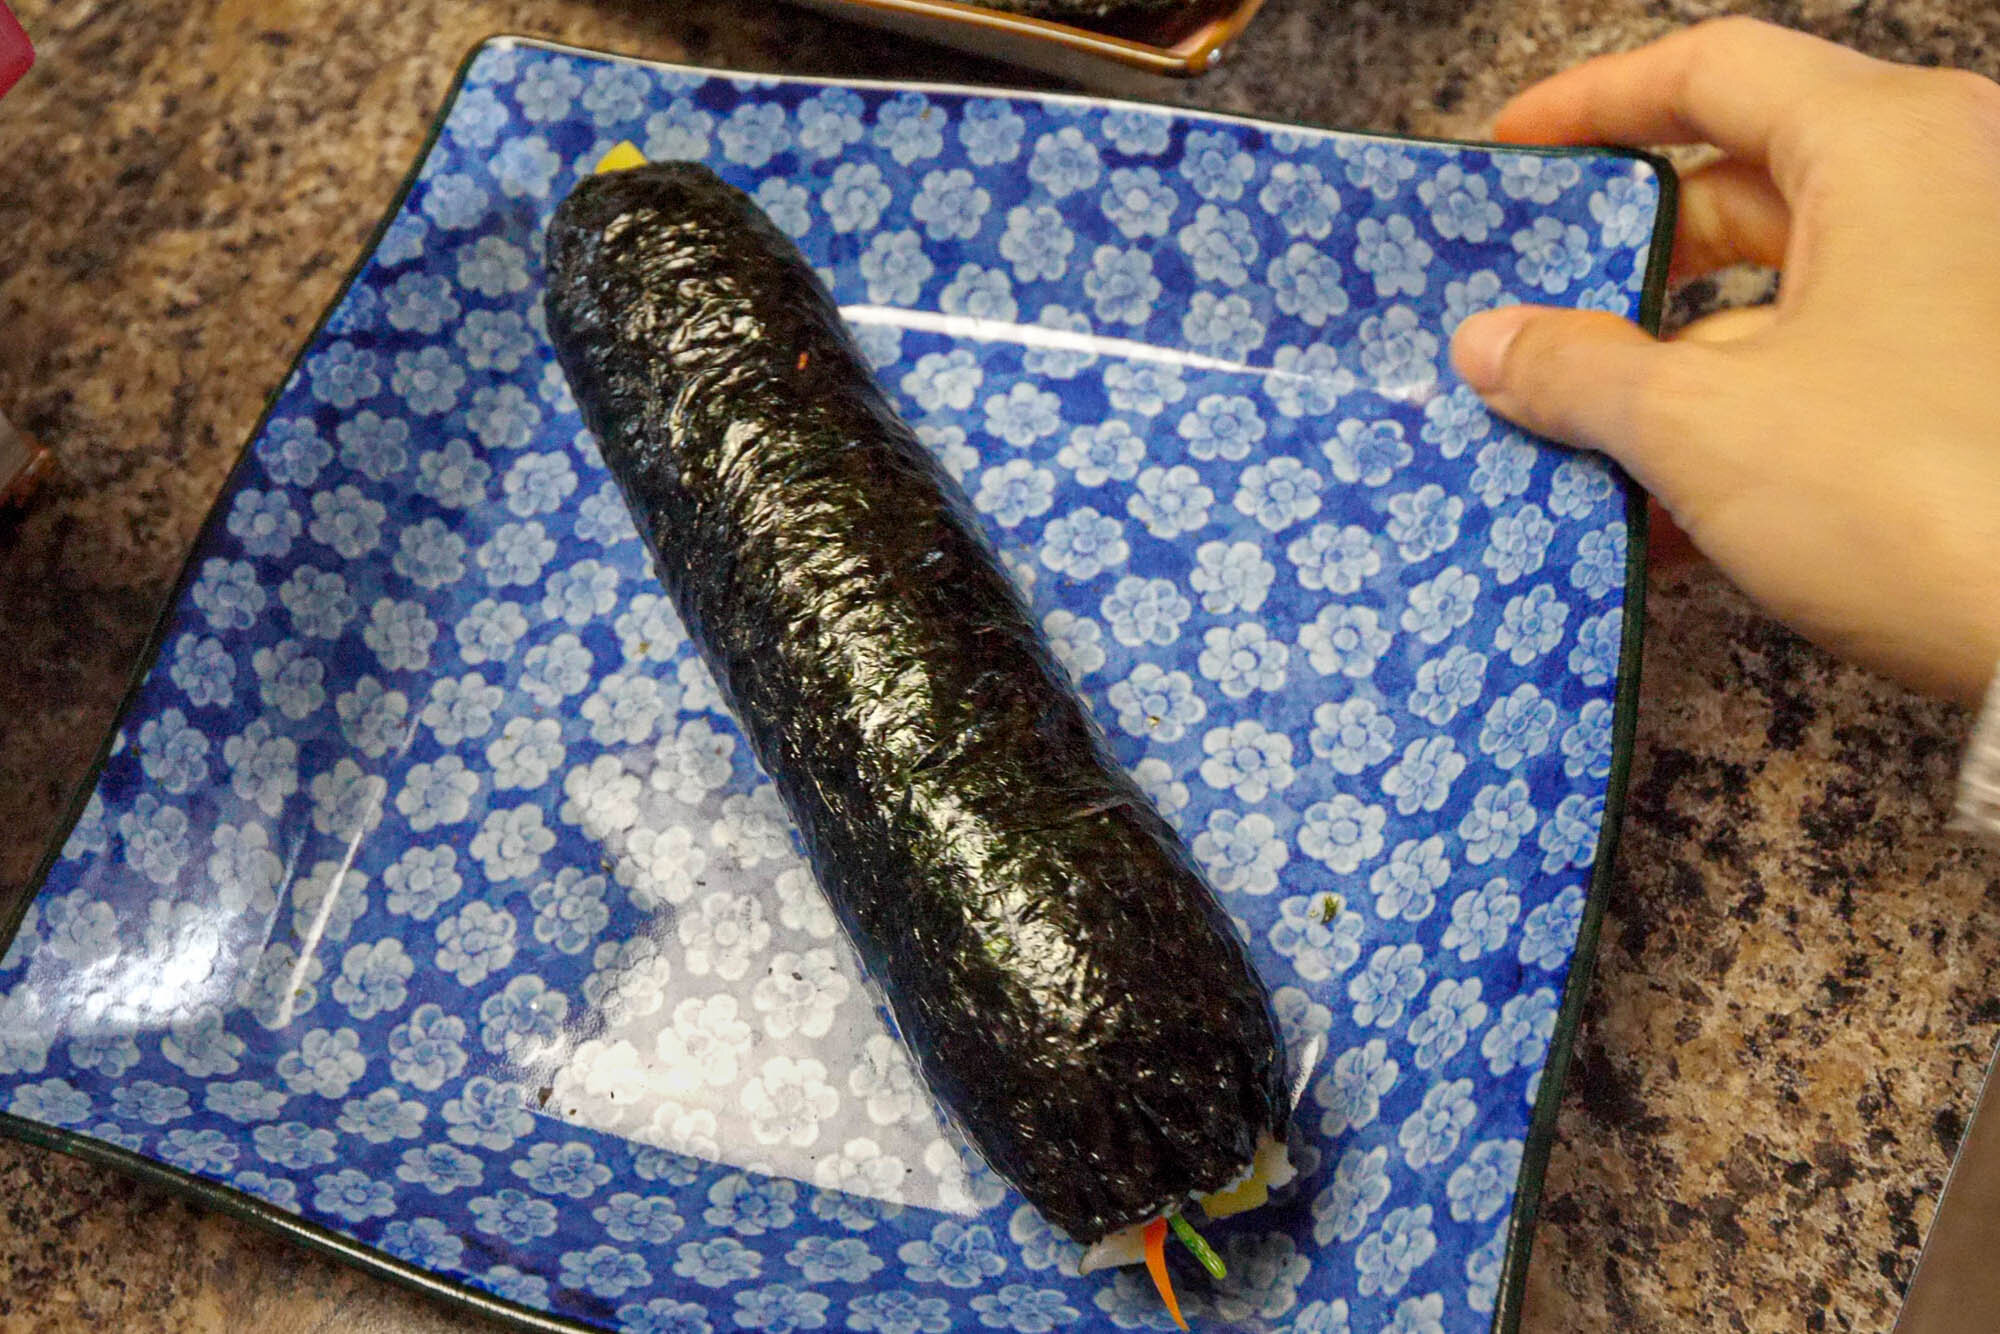
Put the roll to the side. Turn your other seaweed sheets into rolls before moving onto the next step.

Step 9: Slice & Plate
Once you finished rolling, brush sesame oil onto a roll and your knife. Then cut bite-sized slices. About 1 centimeter thick should be good.
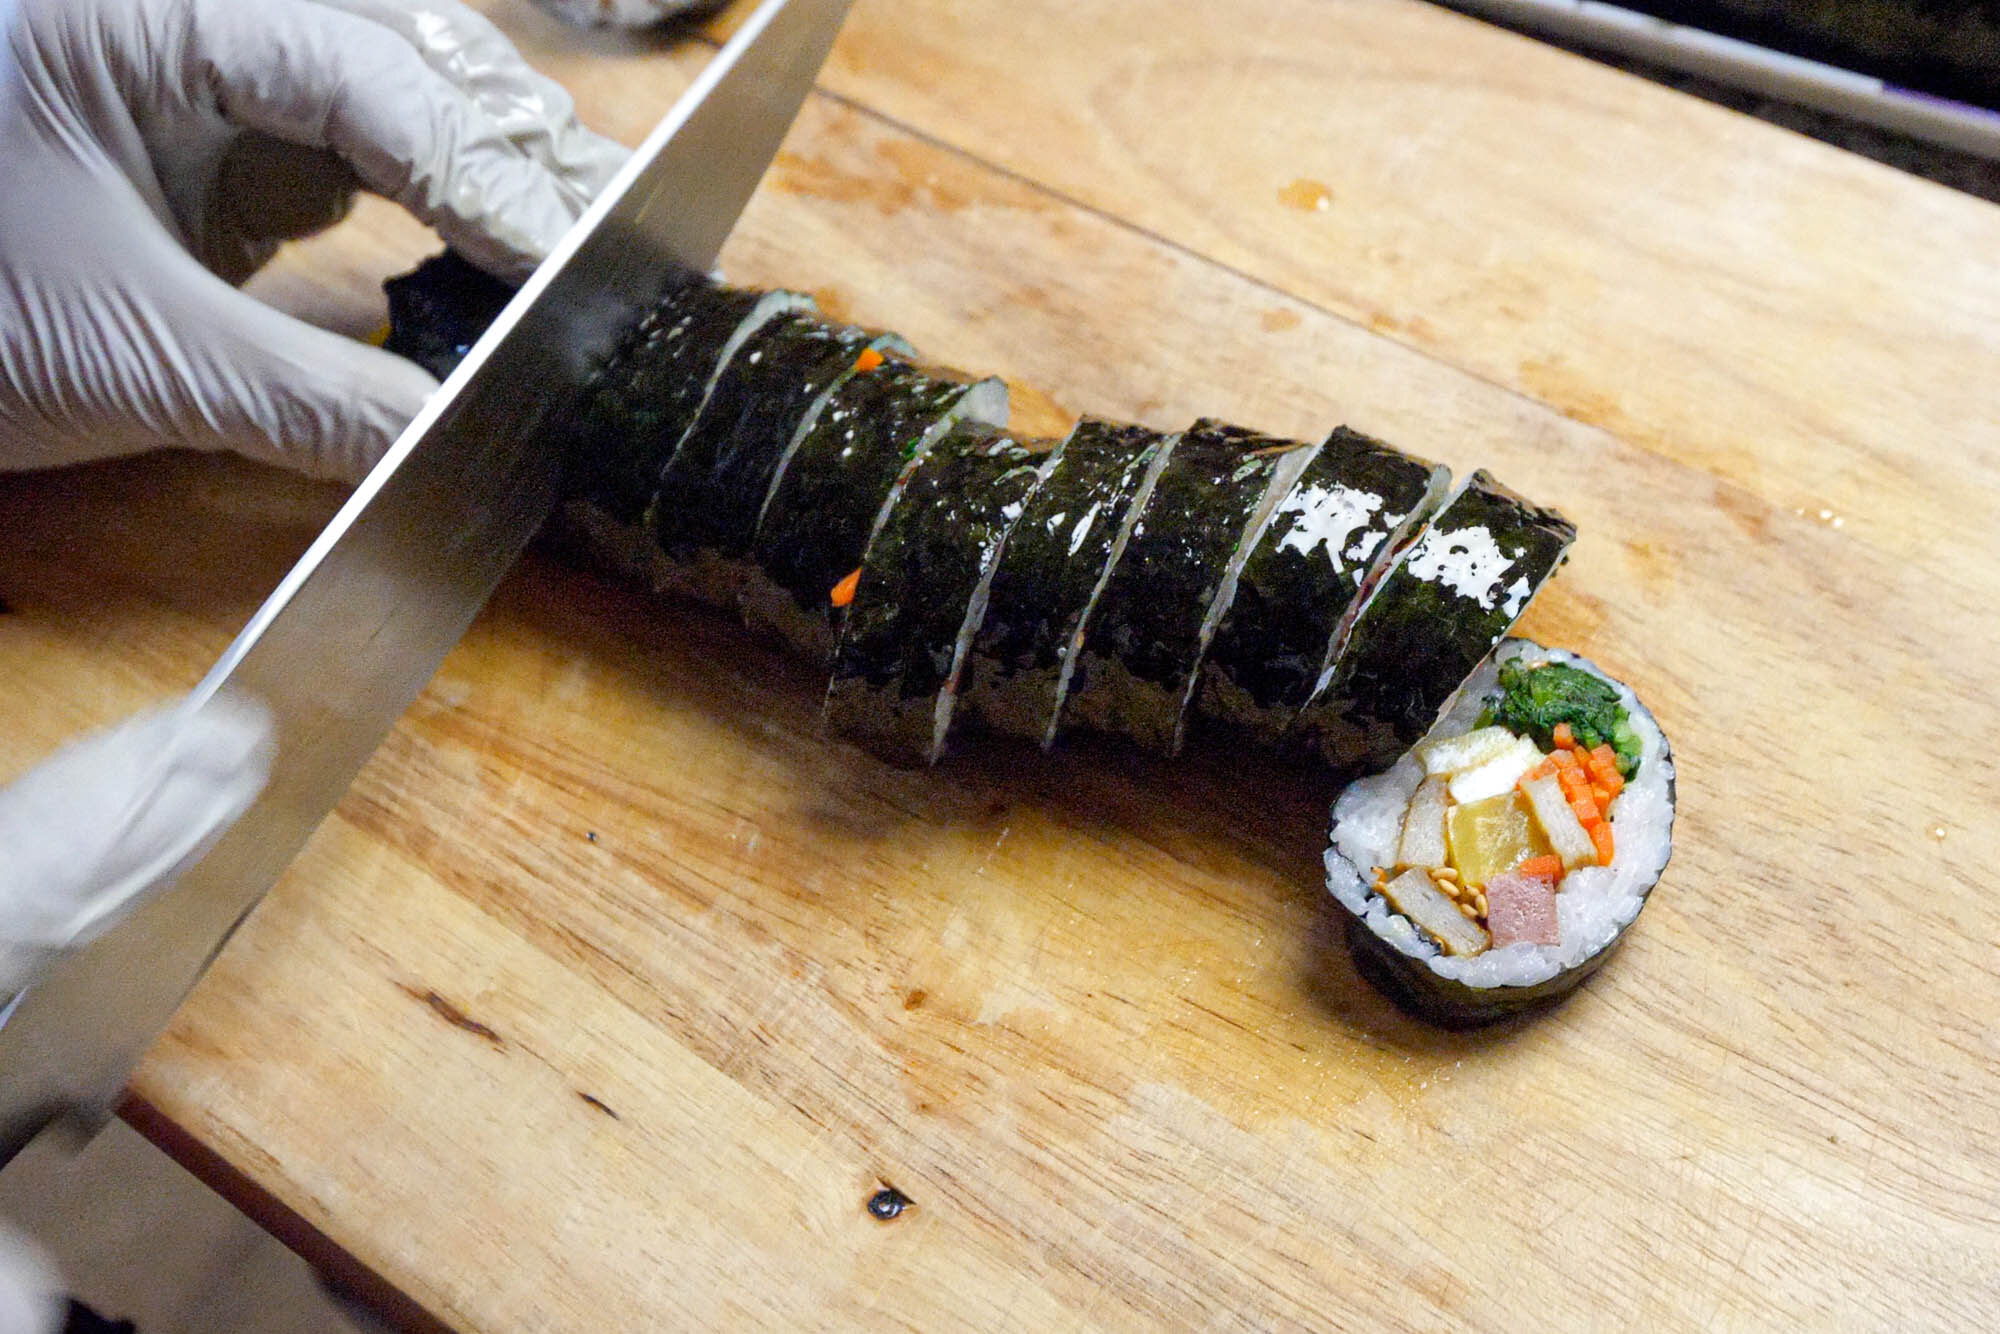
For right handers, it will be easier to cut from right to left. For left handers, it will be easier to cut from the left to right.
Mommy Oh recommends brushing sesame oil and cutting when you are ready to eat them (as opposed to plating them too much in advance). Sesame oil can make the food expire faster.
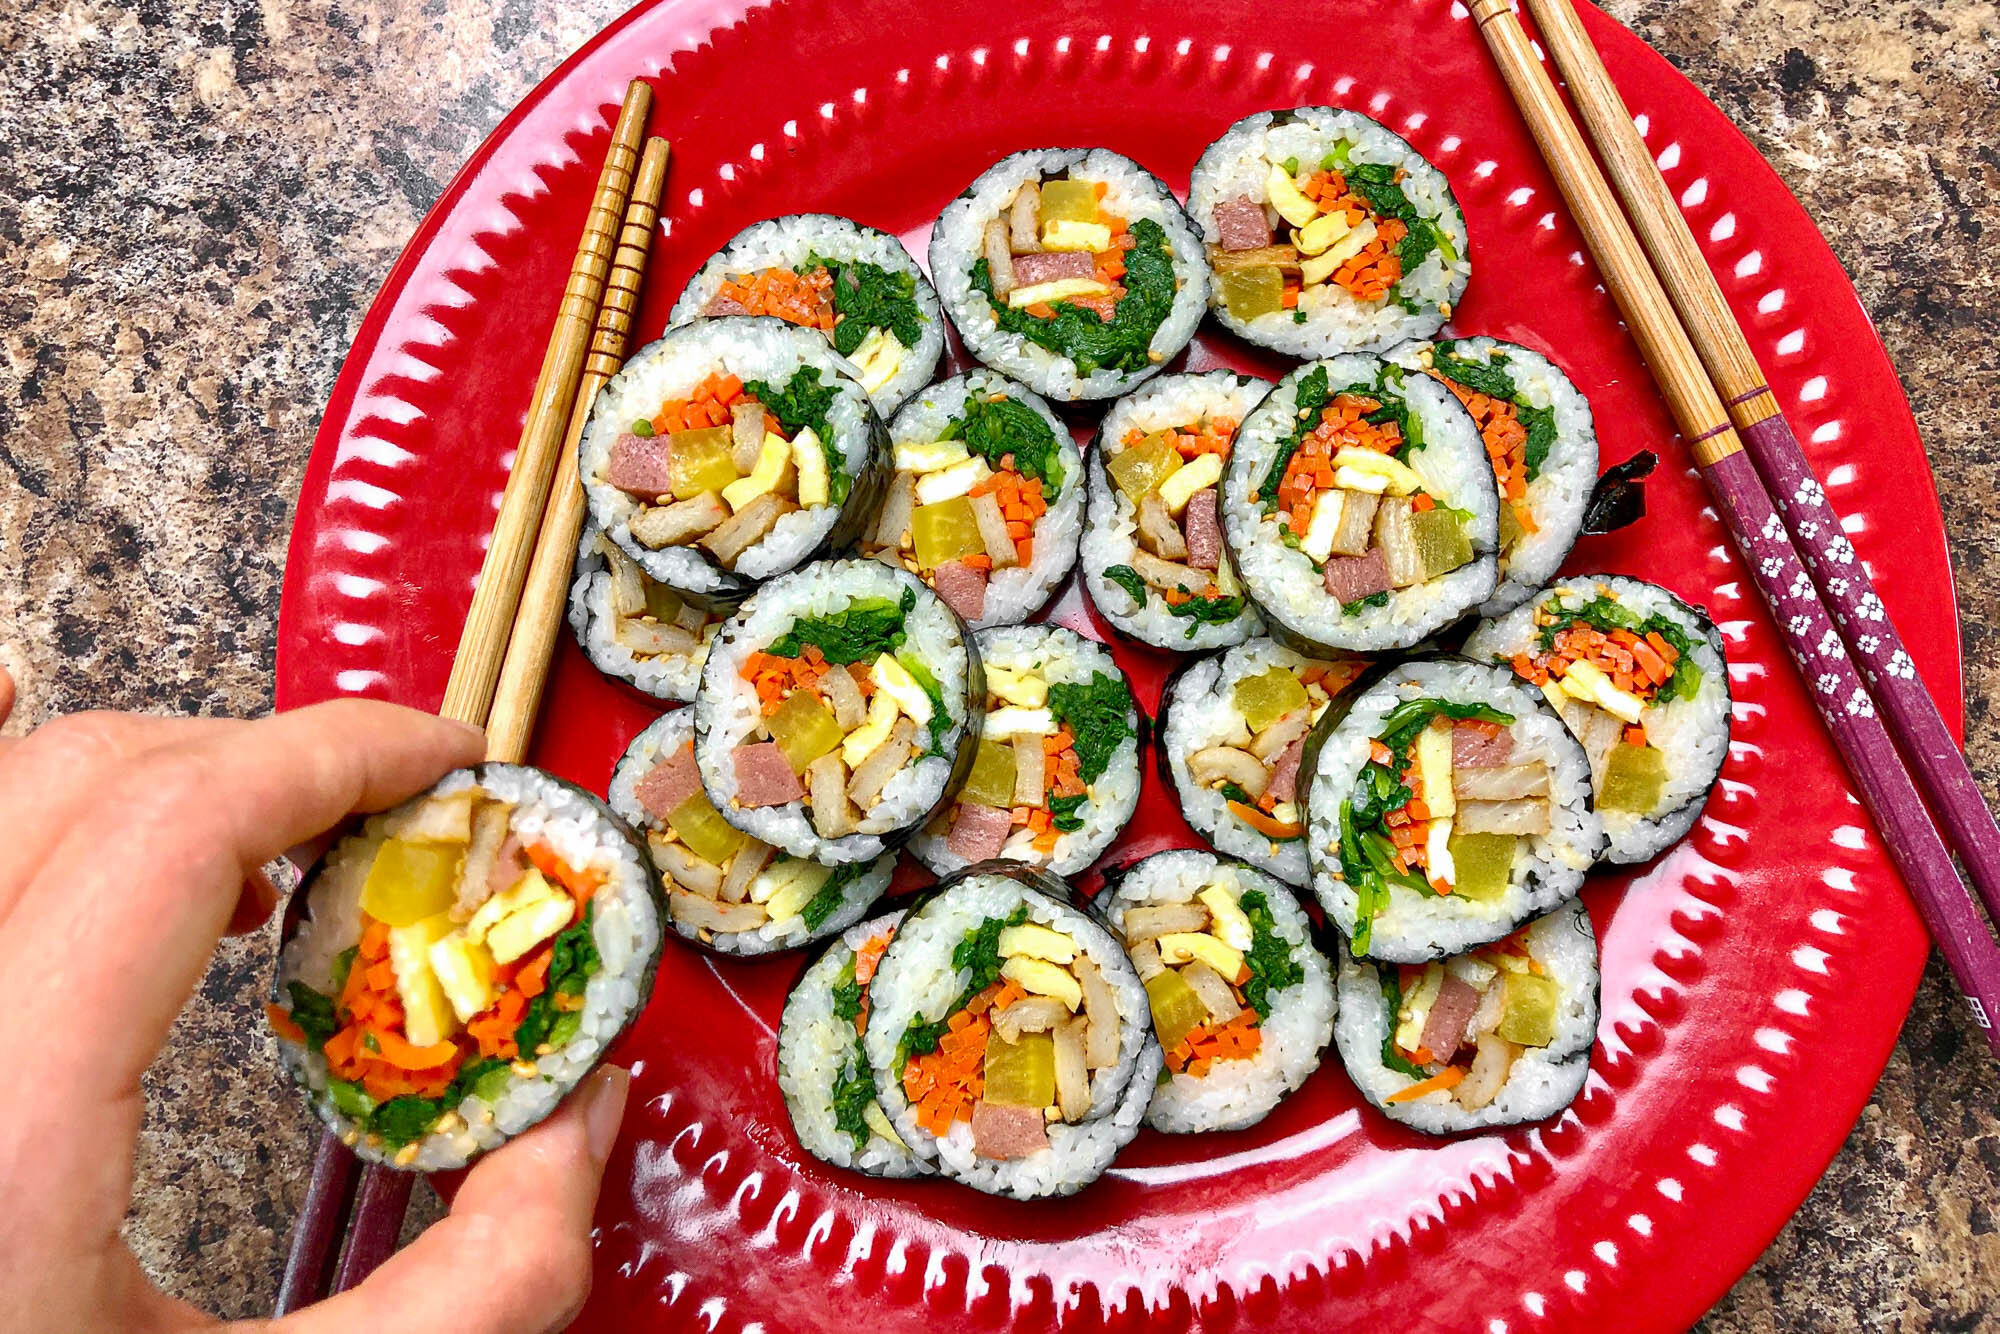
Once sliced, plate your rolls and enjoy!
If you leave them out long enough, the exterior can get dry. Brush on sesame oil to moisturize them. This also adds more tasty flavor :)

It’s yum time :)
Thanks Mommy Oh for showing us how to make kimbap!
Hope you enjoy this recipe! It’s a dish filled with good memories for us. From our family to yours, wishing you many tasty bites.
Ps: For another version of kimbap, check out the ones Mommy Oh made for a luau-themed birthday party here. You might notice the ratio differs, so once again, don’t worry about following the kimbap recipes to the exact measurement. Kimbap is customizable :)
Let us know what other ingredients you put in your rolls in the comment section. It’s always fun to hear how creative people get with recipes!